Stop Line#
Behavior velocity planner's stop line module plans velocity to stop right before stop lines and restart driving after stopped. In order to operate that, we will add stop line attribute to our lanelet2 map.
Creating a stop line regulatory element#
In order to create a stop line on your pointcloud map, please follow these steps:
- Please select lanelet which stop line to be added.
- Click
Abstractionbutton on top panel. - Select
Stop Linefrom the panel. - Click on the desired area for inserting stop line.
You can see these steps in the stop line creating demonstration video:
Testing created the stop line element with planning simulator#
After the completing of creating the map, we need to save it.
To that please click File --> Export Lanelet2Maps then download.
After the download is finished, we need to put lanelet2 map and pointcloud map on the same location. The directory structure should be like this:
+ <YOUR-MAP-DIRECTORY>/
+  ├─ pointcloud_map.pcd
+  └─ lanelet2_map.osm
If your .osm or .pcd map file's name is different from these names, you need to update autoware.launch.xml:
  <!-- Map -->
-  <arg name="lanelet2_map_file" default="lanelet2_map.osm" description="lanelet2 map file name"/>
+  <arg name="lanelet2_map_file" default="<YOUR-LANELET-MAP-NAME>.osm" description="lanelet2 map file name"/>
-  <arg name="pointcloud_map_file" default="pointcloud_map.pcd" description="pointcloud map file name"/>
+  <arg name="pointcloud_map_file" default="<YOUR-POINTCLOUD-MAP-NAME>.pcd" description="pointcloud map file name"/>
Now we are ready to launch the planning simulator:
ros2 launch autoware_launch planning_simulator.launch.xml map_path:=<YOUR-MAP-FOLDER-DIR> vehicle_model:=<YOUR-VEHICLE-MODEL> sensor_model:=<YOUR-SENSOR-KIT>
Example for tutorial_vehicle:
ros2 launch autoware_launch planning_simulator.launch.xml map_path:=$HOME/Files/autoware_map/tutorial_map/ vehicle_model:=tutorial_vehicle sensor_model:=tutorial_vehicle_sensor_kit vehicle_id:=tutorial_vehicle
- Click
2D Pose Estimatebutton on rviz or pressPand give a pose for initialization. - Click
2D Goal Posebutton on rviz or pressGand give a pose for goal point. - You can see the stop line marker on the rviz screen.
Stop line markers on rviz:
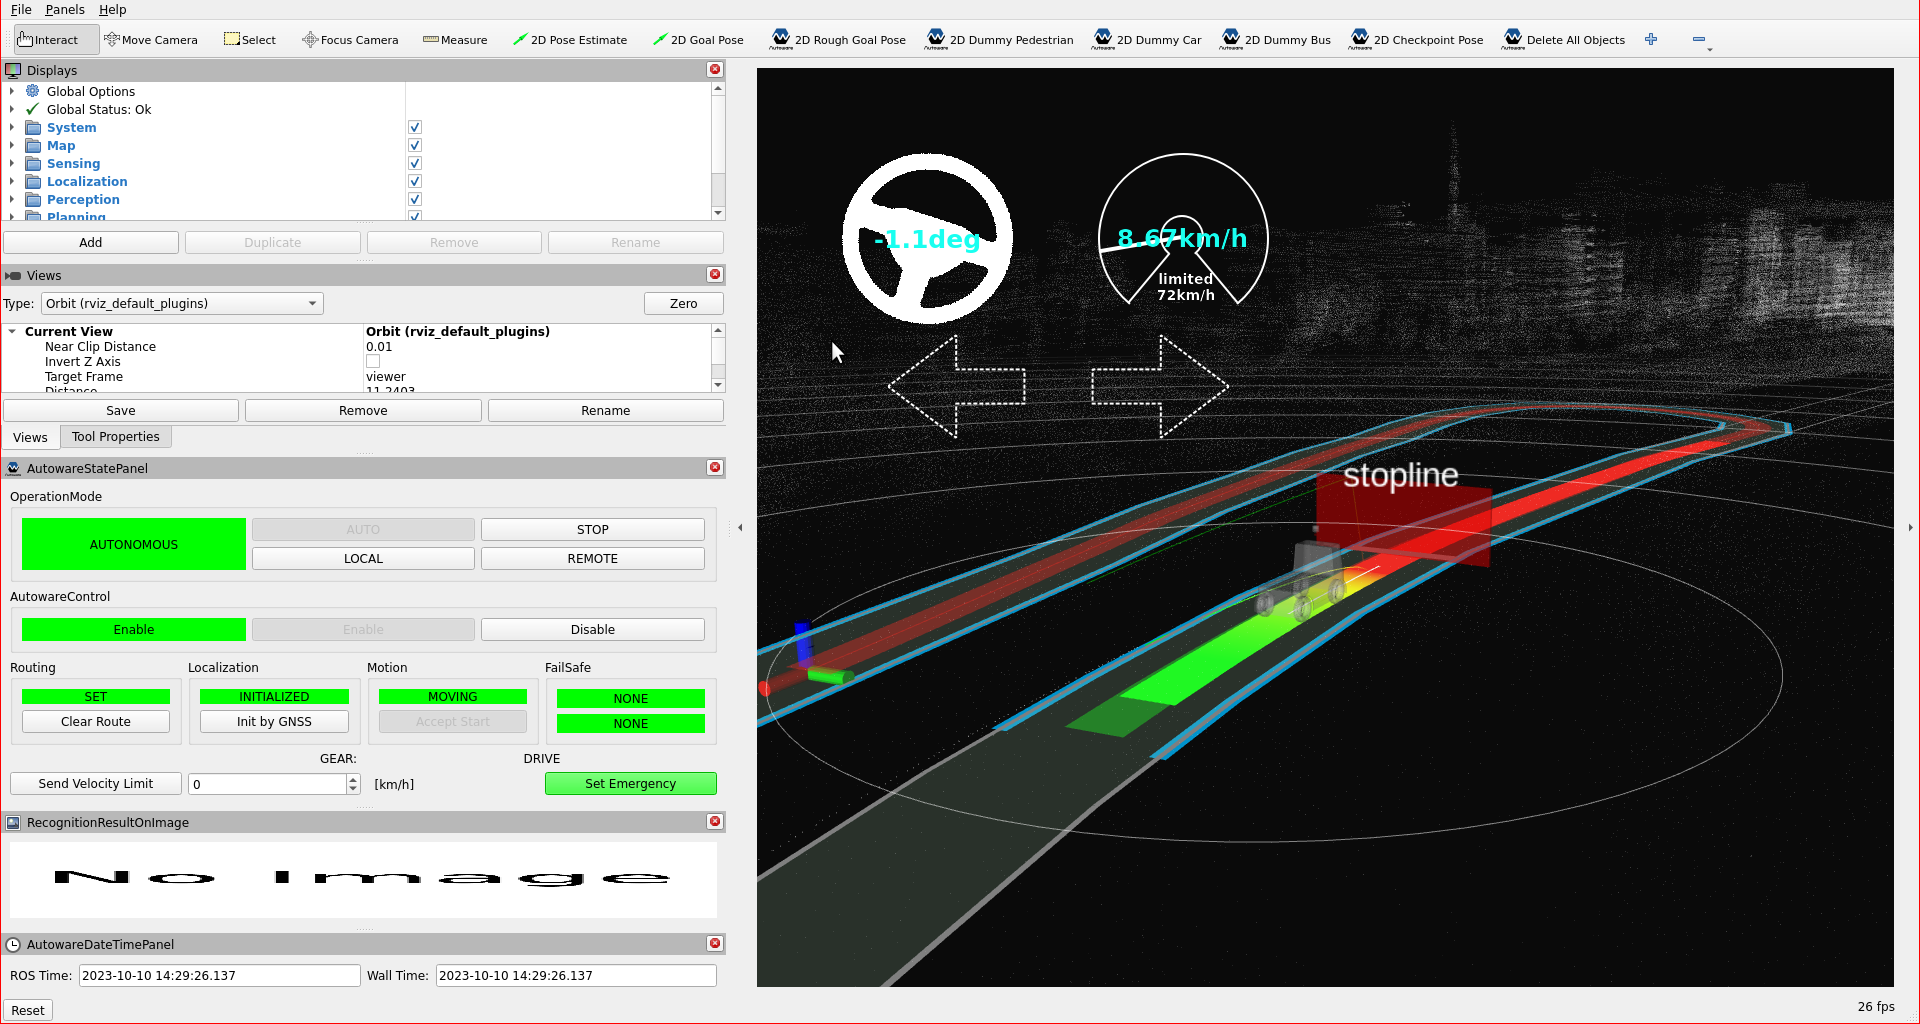
You can check your stop line elements in the planning simulator as this demonstration video: