Intrinsic camera calibration#
Overview#
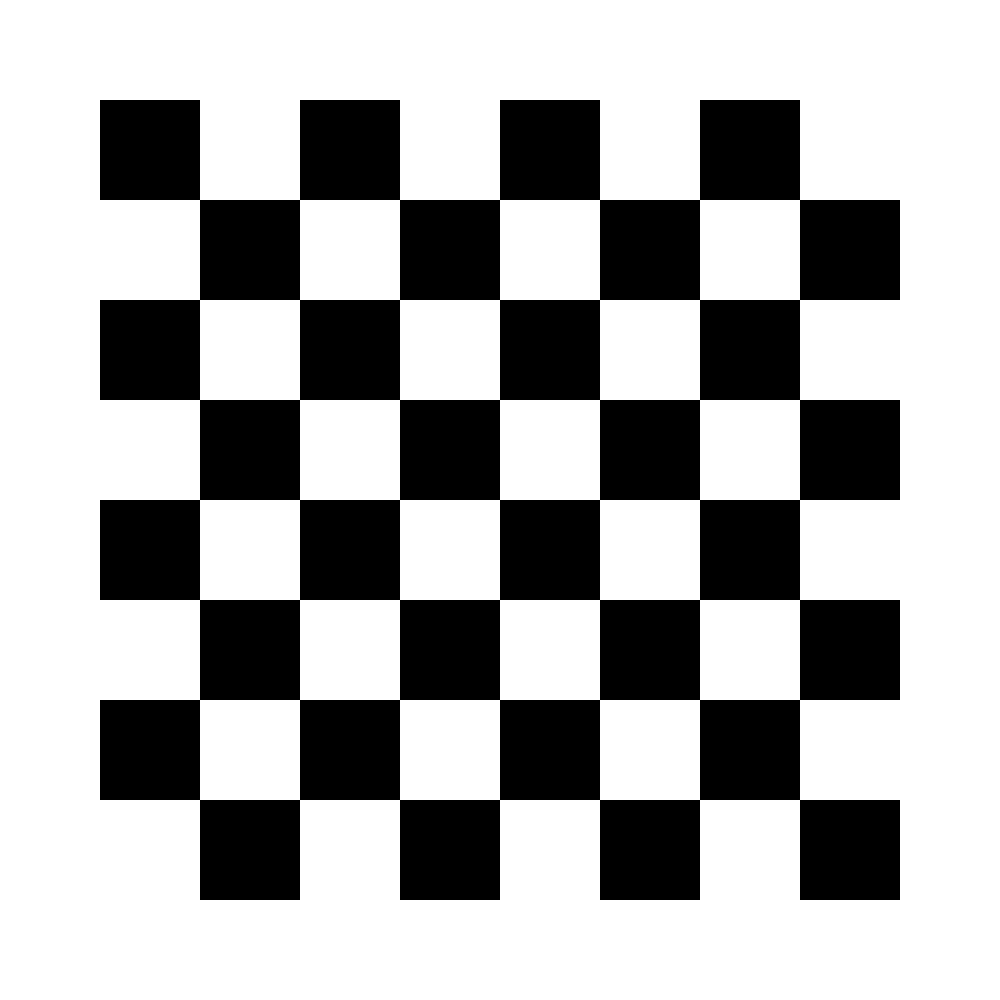
Intrinsic camera calibration is the process of determining the internal parameters of a camera which will be used when projecting 3D information into images. These parameters include focal length, optical center, and lens distortion coefficients. In order to perform camera Intrinsic calibration, we will use TIER IV's Intrinsic Camera Calibrator tool. First of all, we need a calibration board which can be dot, chess or apriltag grid board. In this tutorial, we will use this 7x7 chess board consisting of 7 cm squares:
Here are some calibration board samples from Intrinsic Camera Calibrator page:
- Chess boards (6x8 example)
- Circle dot boards (6x8 example)
- Apriltag grid board (3x4 example)
If you want to use bag file for a calibration process,
the bag file must include image_raw topic of your camera sensor,
but you can perform calibration with real time.
(recommended)
ROS 2 Bag example for intrinsic camera calibration process
Files:             rosbag2_2023_09_18-16_19_08_0.db3
Bag size:          12.0 GiB
Storage id:        sqlite3
Duration:          135.968s
Start:             Sep 18 2023 16:19:08.966 (1695043148.966)
End:               Sep 18 2023 16:21:24.934 (1695043284.934)
Messages:          4122
Topic information: Topic: /sensing/camera/camera0/image_raw | Type: sensor_msgs/msg/Image | Count: 2061 | Serialization Format: cdr
Intrinsic camera calibration#
Unlike other calibration packages in our tutorials, this package does not need to create an initialization file. So we can start with launching intrinsic calibrator package.
cd <YOUR-OWN-AUTOWARE-DIRECTORY>
source install/setup.bash
After that, we will launch intrinsic calibrator:
ros2 launch intrinsic_camera_calibrator calibrator.launch.xml
Then, initial configuration and camera intrinsic calibration panels will show up. We set initial configurations for our calibration.
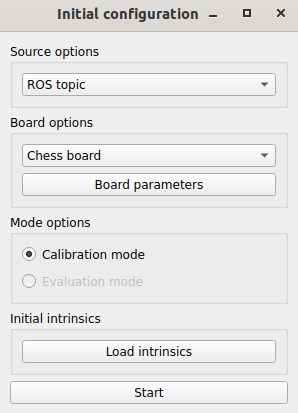
We set our image source (it can be "ROS topic", "ROS bag" or "Image files")
from the source options section.
We will calibrate our camera with "ROS topic" source.
After selecting an image source from this panel, we need to configure "Board options" as well.
The calibration board can be Chess board, Dot board or Apriltag.
Also, we need to select board parameters,
to do that, click the "Board parameters" button and set row, column, and cell size.
After the setting of image source and board parameters, we are ready for the calibration process.
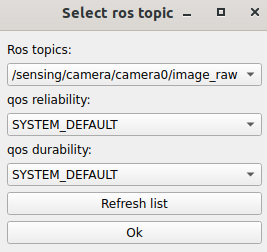
Please click the start button, you will see Topic configuration panel.
Please select the appropriate camera raw topic for the calibration process.
Then you are ready to calibration. Please collect data with different X-Y axis, sizes and skews. You can see your collected data statistics with the clicking view data collection statistics. For more information, please refer to Intrinsic Camera Calibrator page.
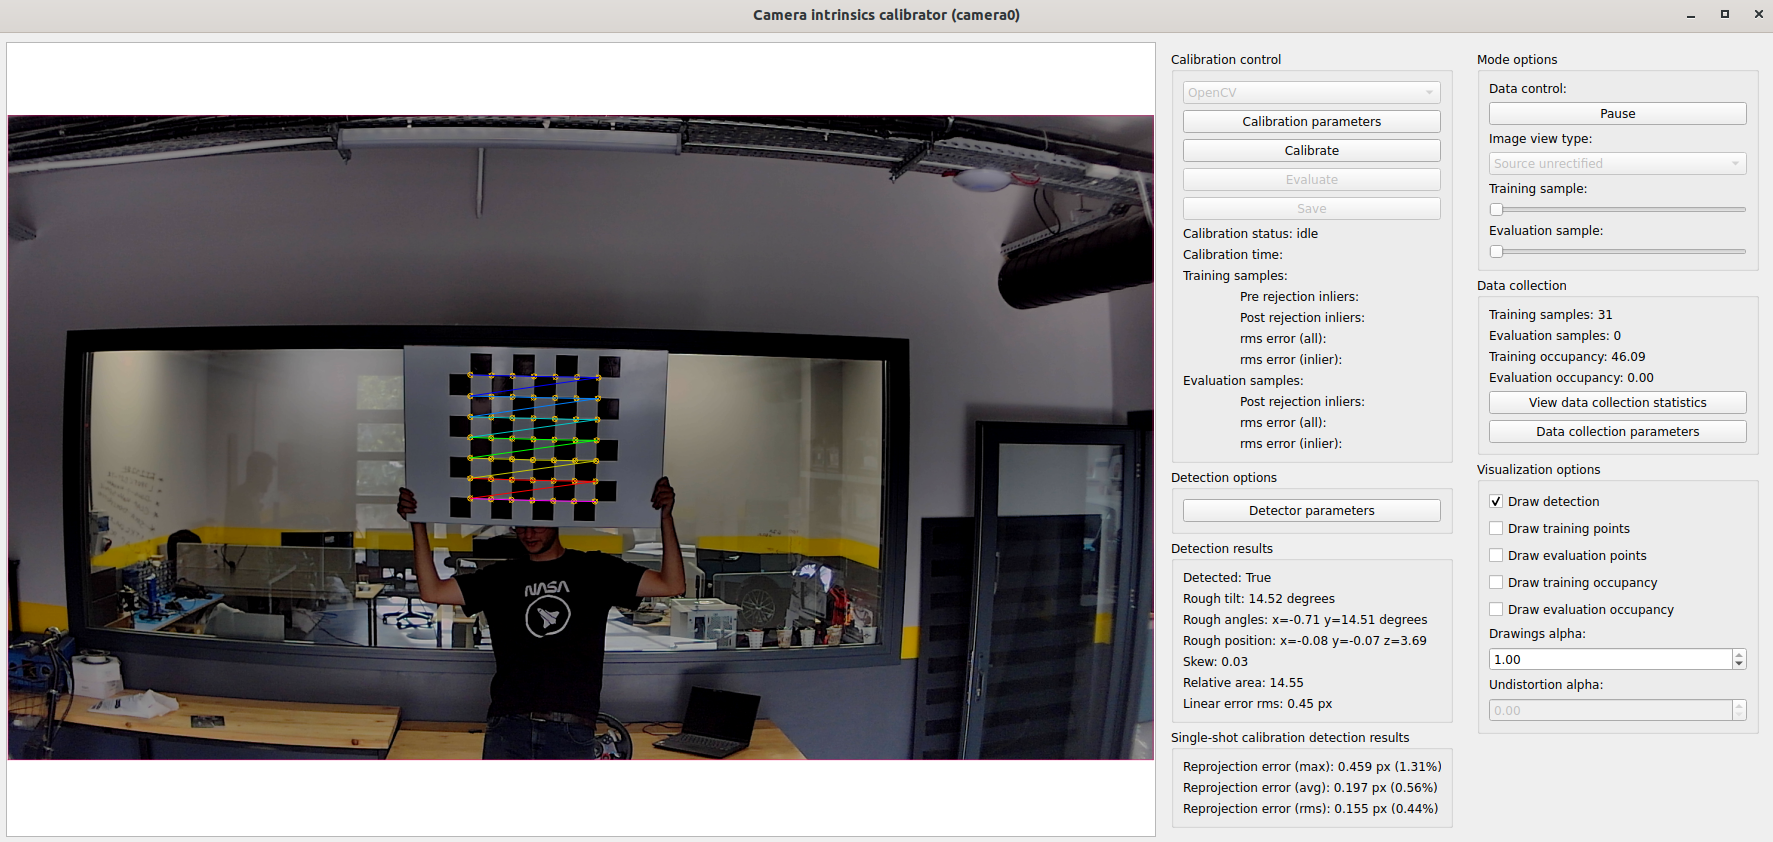
After the data collection is completed,
you can click the "Calibrate" button to perform the calibration process.
After the calibration is completed,
you will see data visualization for the calibration result statistics.
You can observe your calibration results with changing "Image view type "Source unrectified"
to "Source rectified".
If your calibration is successful (there should be no distortion in the rectified image),
you can save your calibration results with "Save" button.
The output will be named as <YOUR-CAMERA-NAME>_info.yaml.
So, you use this file with your camera driver directly.
Here is the video for demonstrating the intrinsic camera calibration process on tutorial_vehicle: