Planning simulation#
Preparation#
Download and unpack a sample map.
- You can also download the map manually.
gdown -O ~/autoware_map/ 'https://docs.google.com/uc?export=download&id=1499_nsbUbIeturZaDj7jhUownh5fvXHd'
unzip -d ~/autoware_map ~/autoware_map/sample-map-planning.zip
Note
Sample map: Copyright 2020 TIER IV, Inc.
Check if you have ~/autoware_data folder and files in it.
$ cd ~/autoware_data
$ ls -C -w 30
image_projection_based_fusion
lidar_apollo_instance_segmentation
lidar_centerpoint
tensorrt_yolo
tensorrt_yolox
traffic_light_classifier
traffic_light_fine_detector
traffic_light_ssd_fine_detector
yabloc_pose_initializer
If not, please, follow Manual downloading of artifacts.
Change the maximum velocity, that is 15km/h by default.
Basic simulations#
If you prefer a graphical user interface (GUI) over the command line for launching and managing your simulations, refer to the Using Autoware Launch GUI section at the end of this document for a step-by-step guide.
Lane driving scenario#
1. Launch Autoware#
source ~/autoware/install/setup.bash
ros2 launch autoware_launch planning_simulator.launch.xml map_path:=$HOME/autoware_map/sample-map-planning vehicle_model:=sample_vehicle sensor_model:=sample_sensor_kit
Warning
Note that you cannot use ~ instead of $HOME here.
If ~ is used, the map will fail to load.
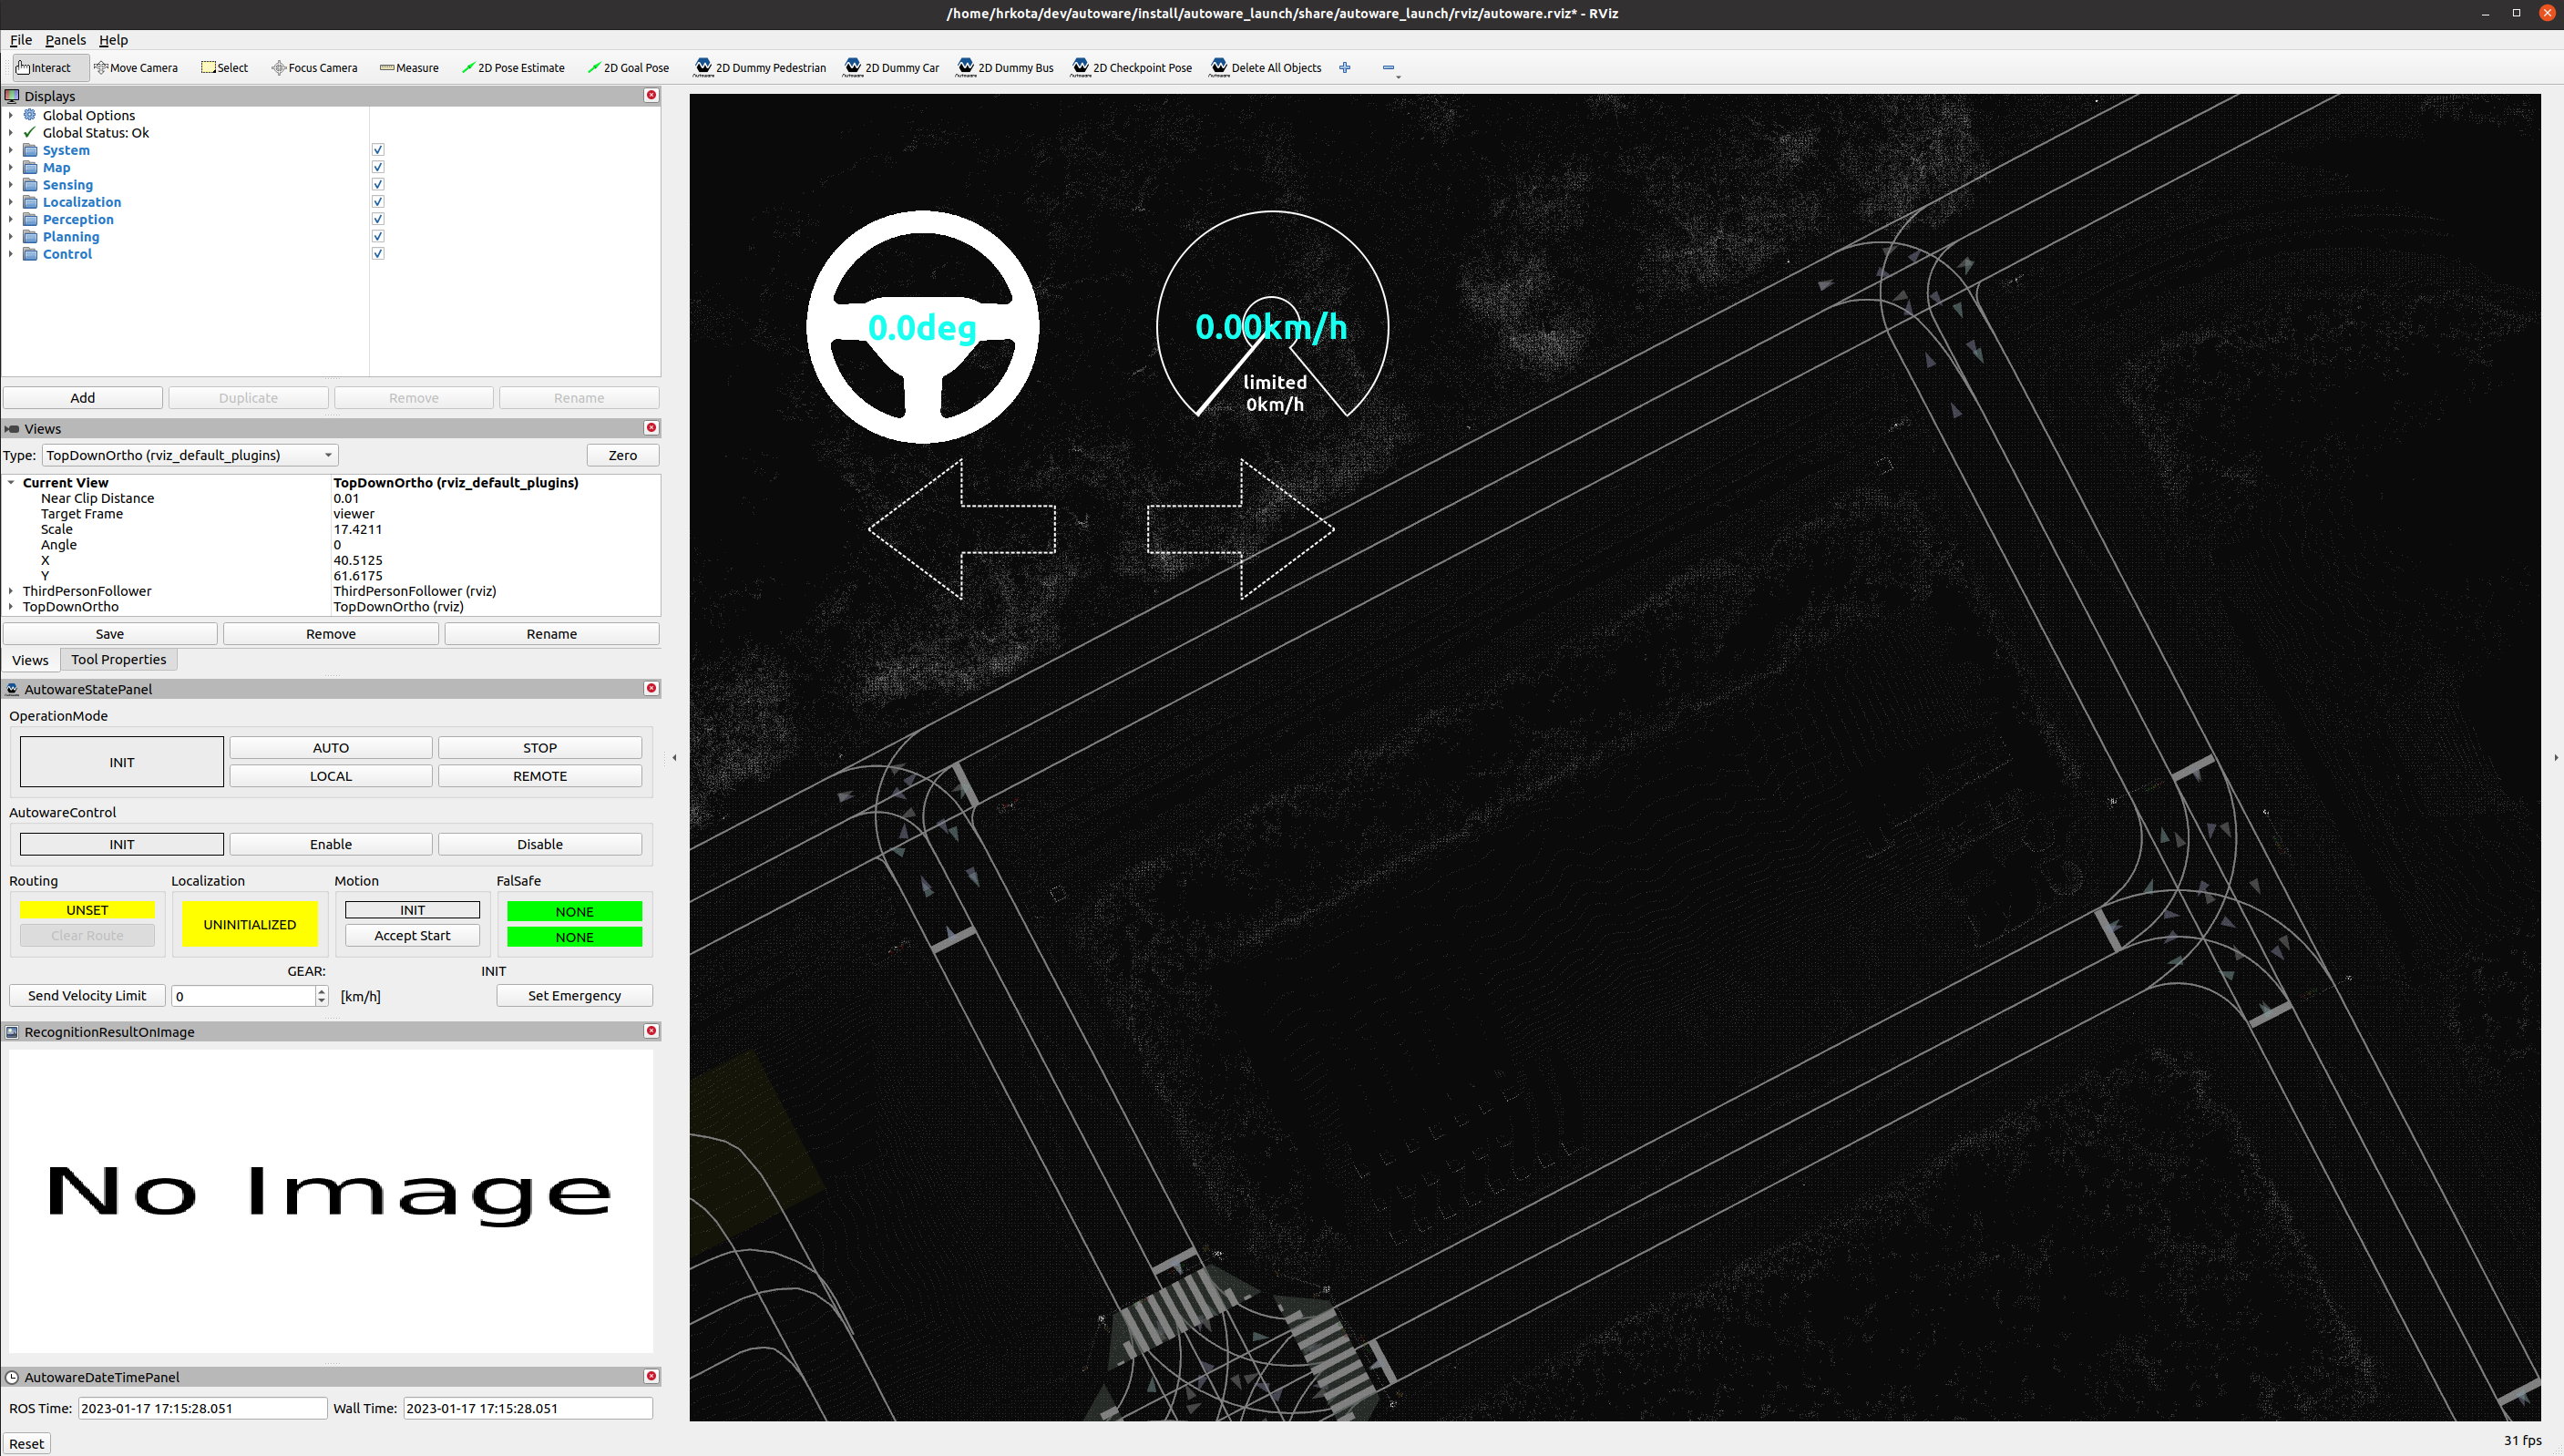
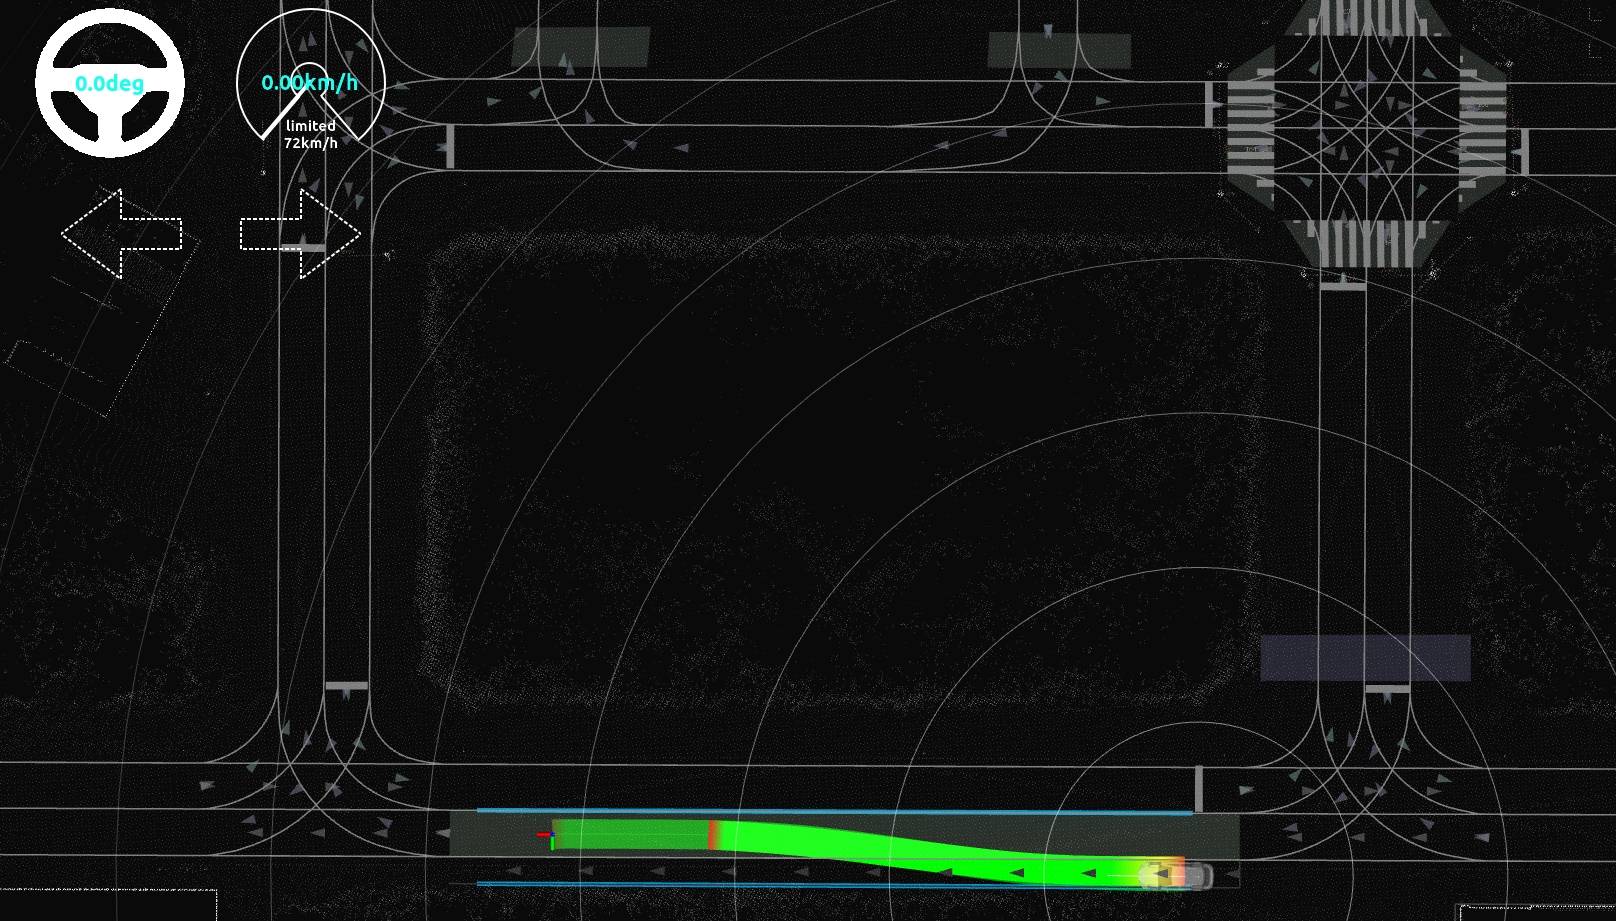
2. Set an initial pose for the ego vehicle#
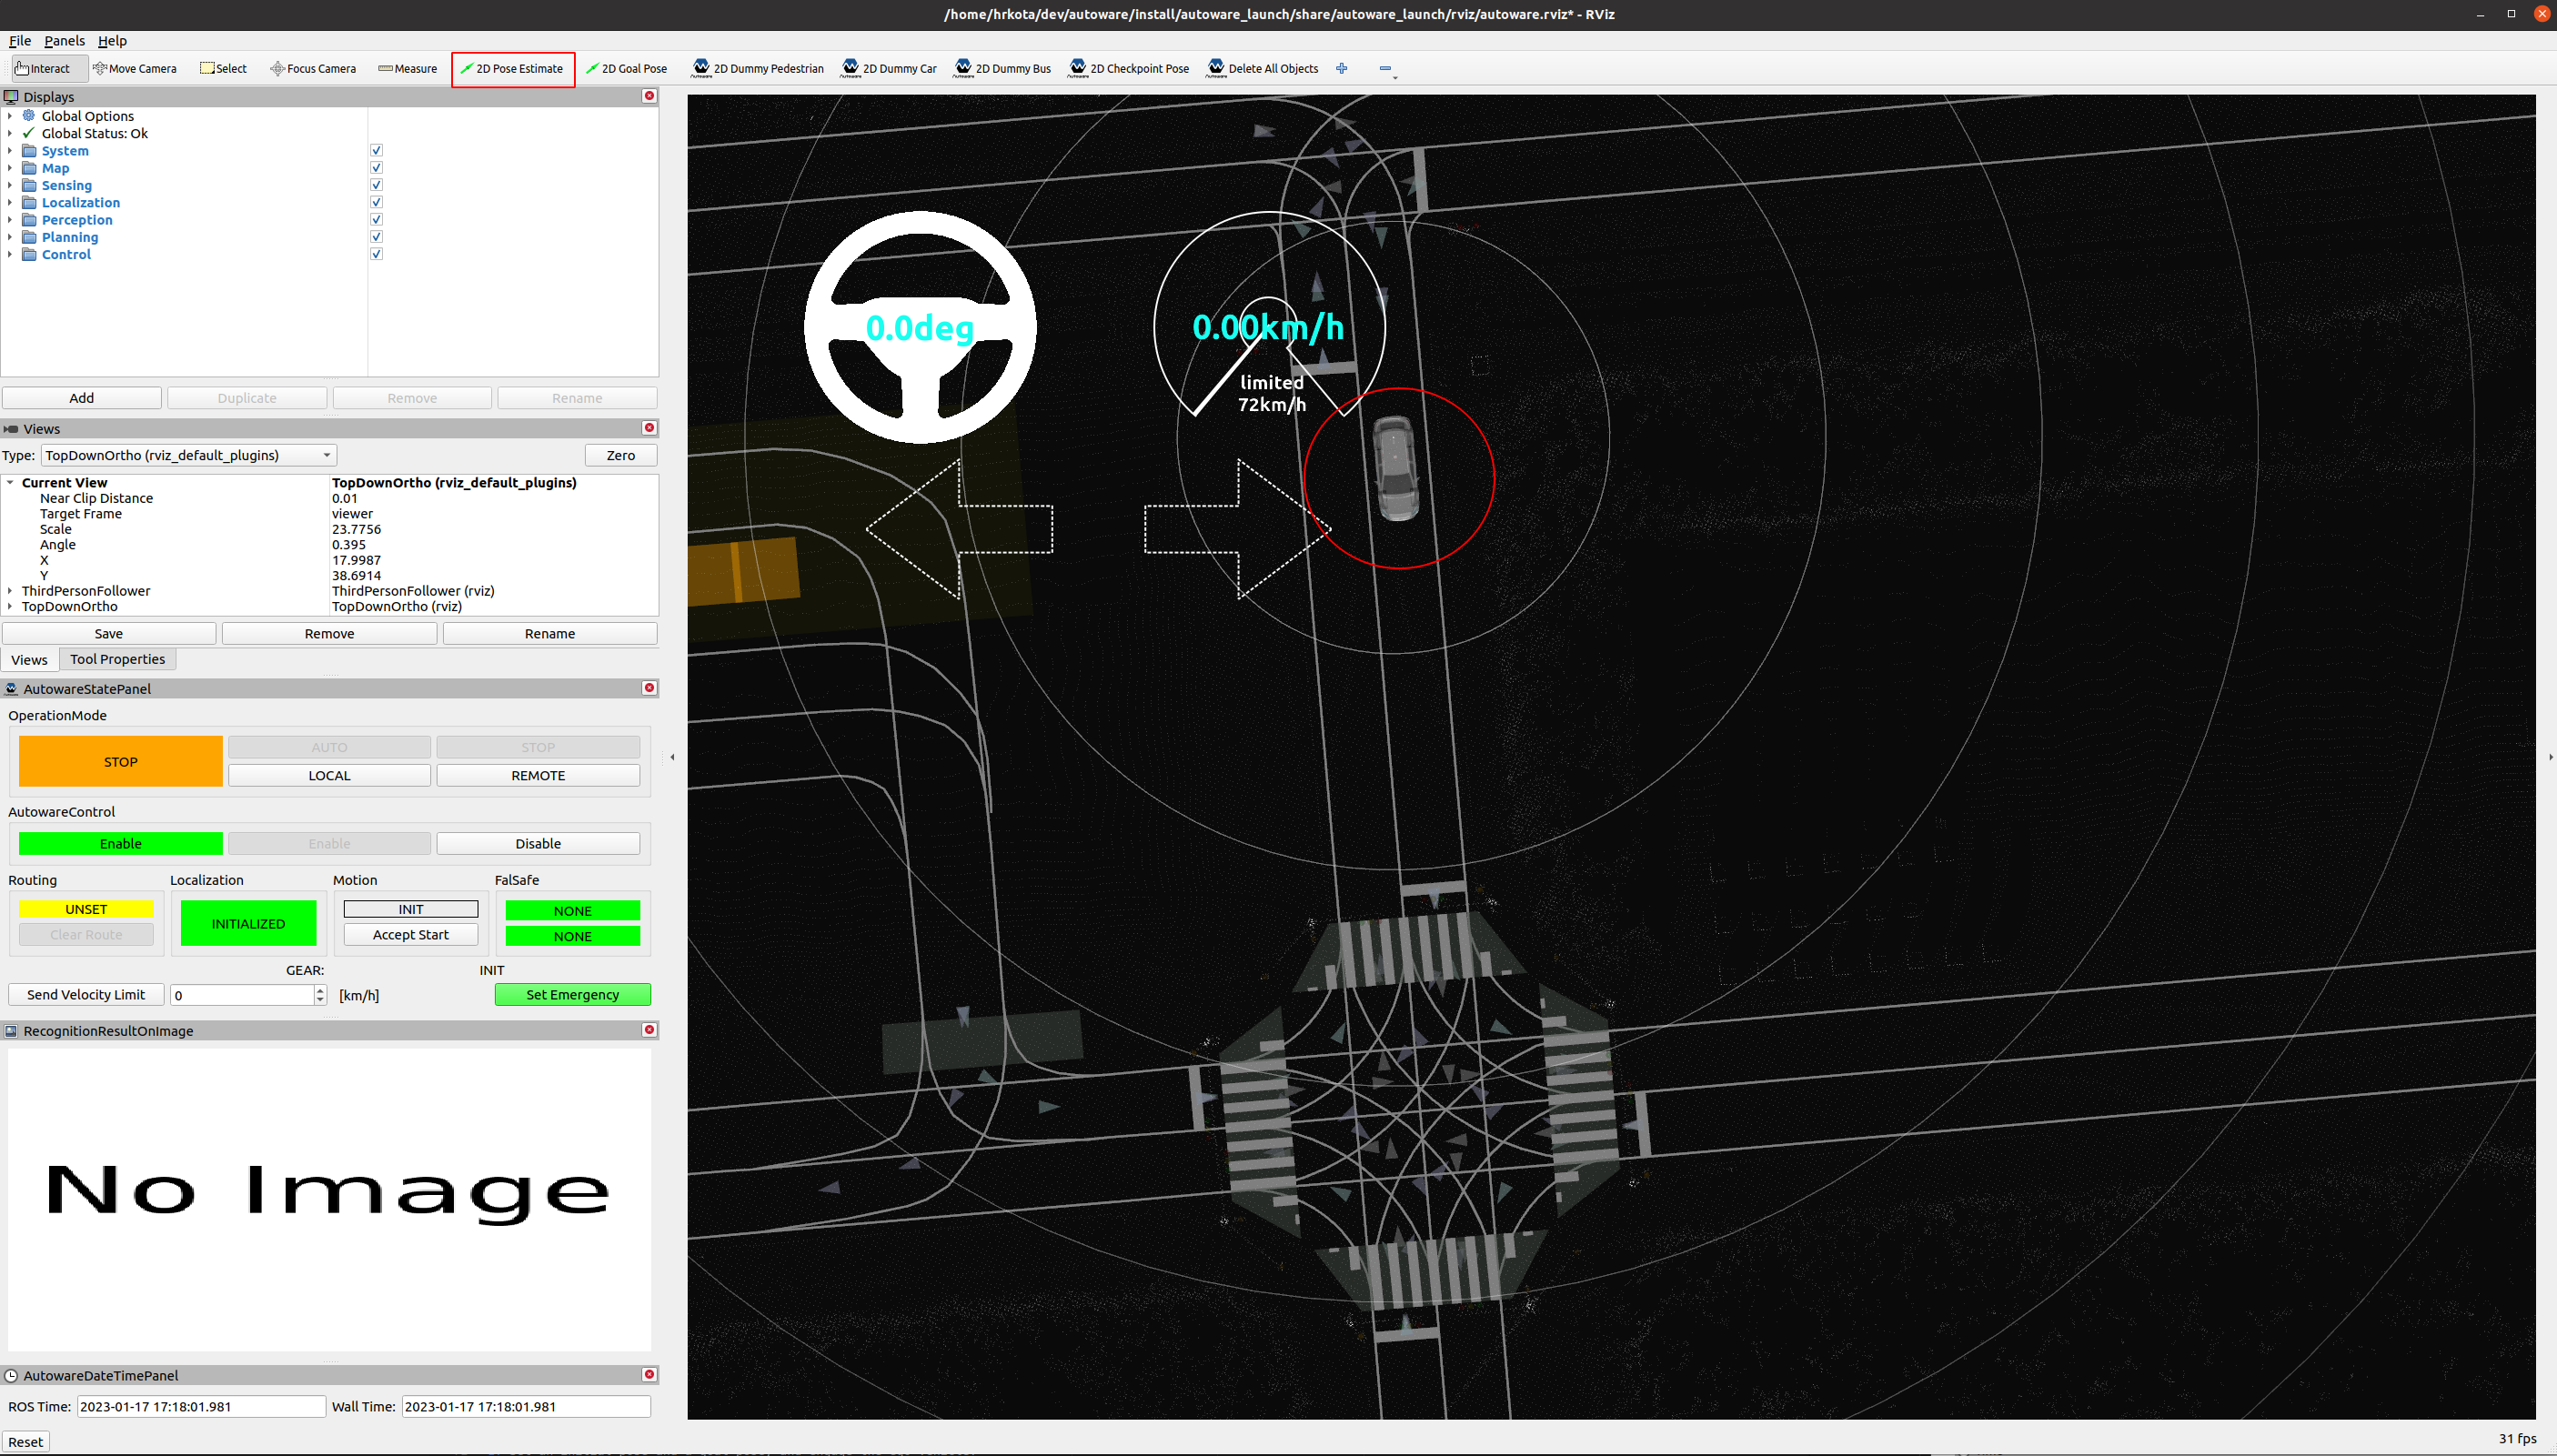
a) Click the 2D Pose estimate button in the toolbar, or hit the P key.
b) In the 3D View pane, click and hold the left-mouse button, and then drag to set the direction for the initial pose. An image representing the vehicle should now be displayed.
Warning
Remember to set the initial pose of the car in the same direction as the lane.
To confirm the direction of the lane, check the arrowheads displayed on the map.
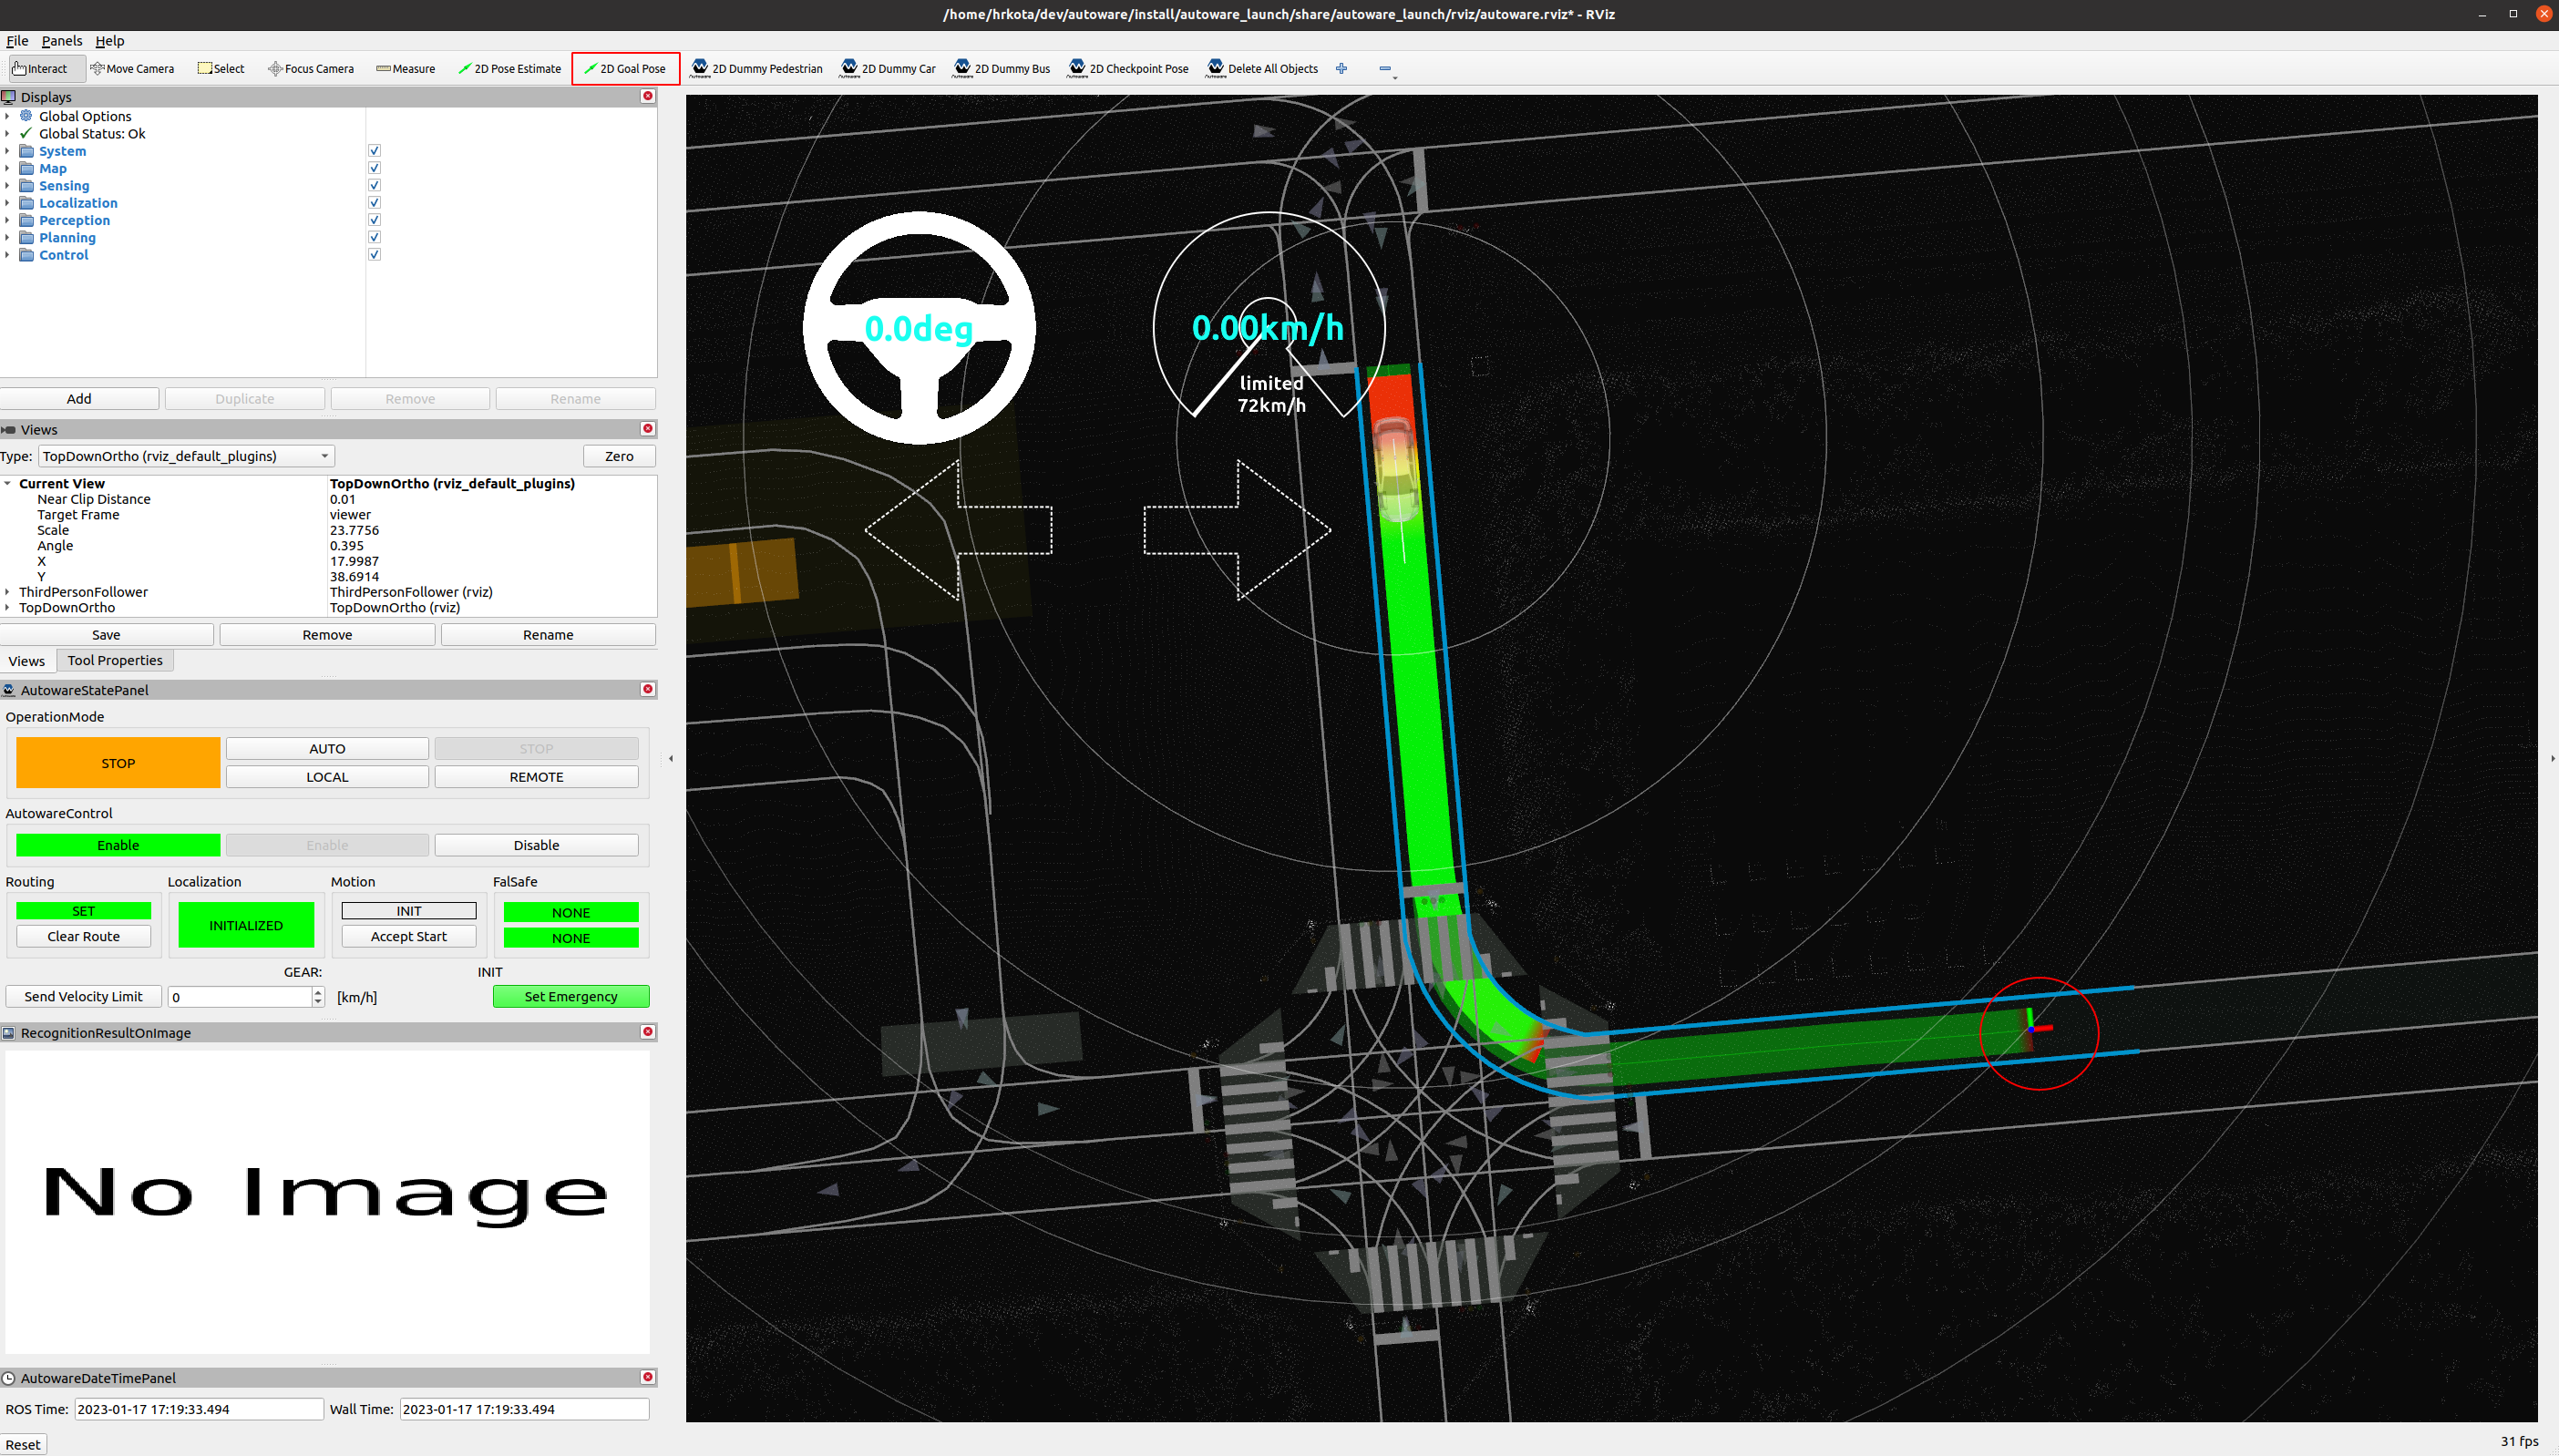
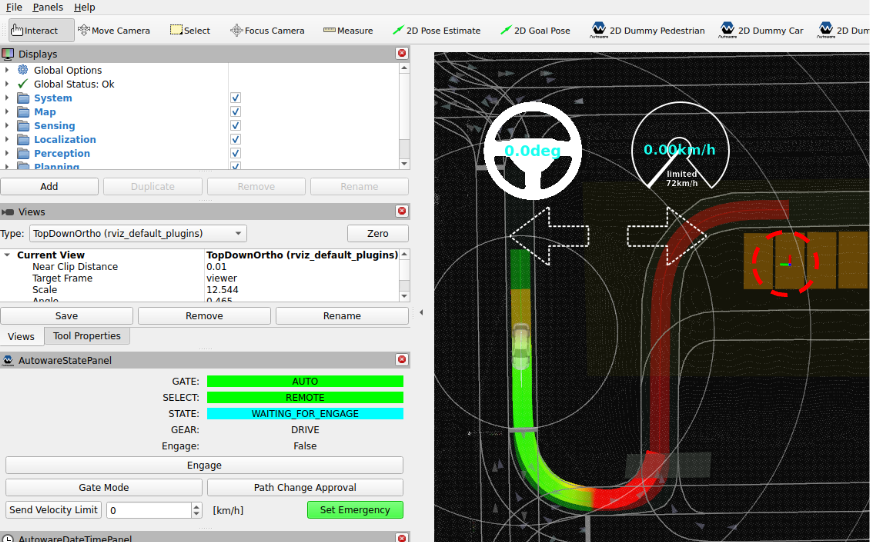
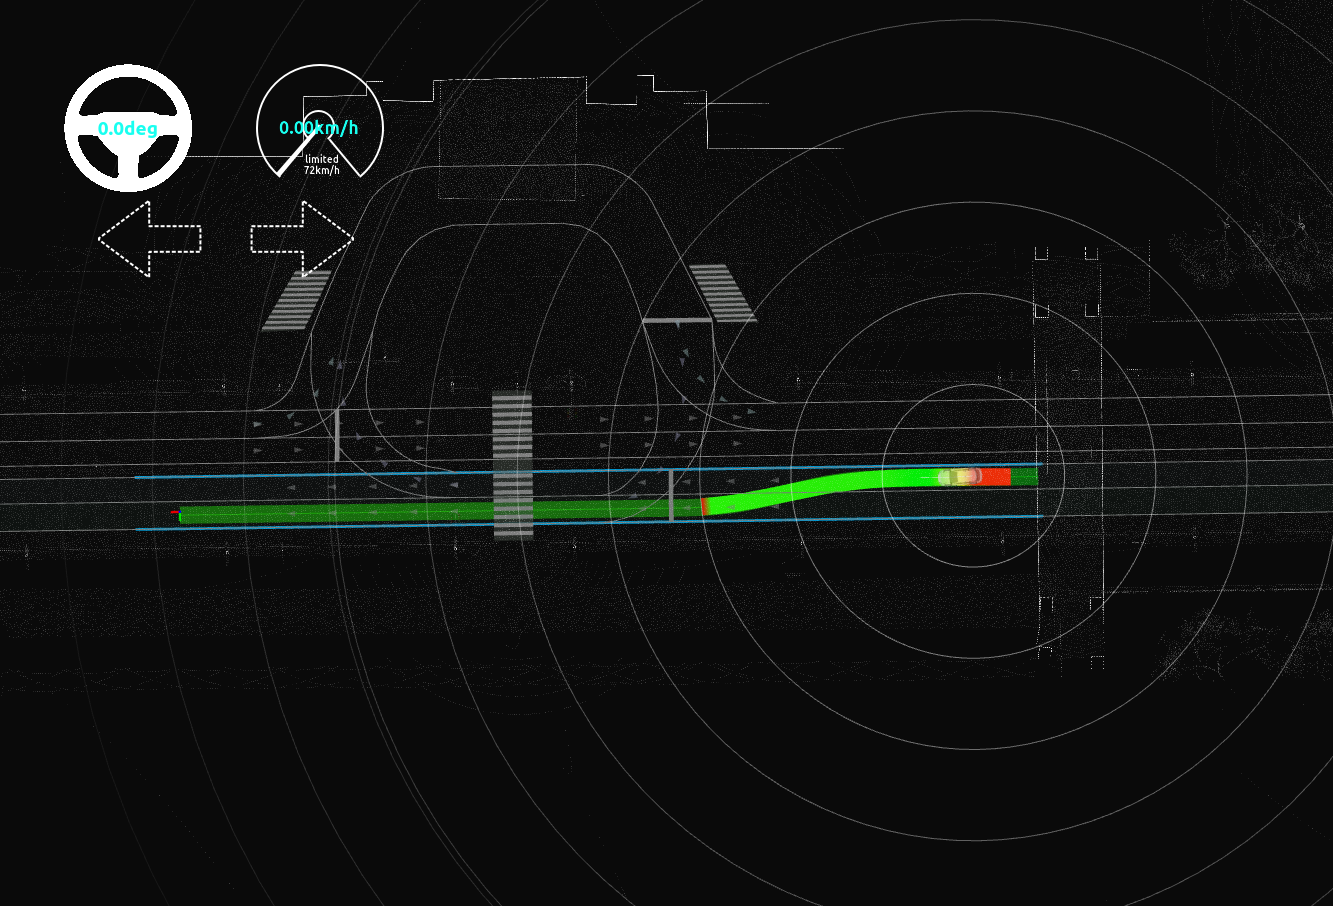
3. Set a goal pose for the ego vehicle#
a) Click the 2D Goal Pose button in the toolbar, or hit the G key.
b) In the 3D View pane, click and hold the left-mouse button, and then drag to set the direction for the goal pose. If done correctly, you will see a planned path from initial pose to goal pose.
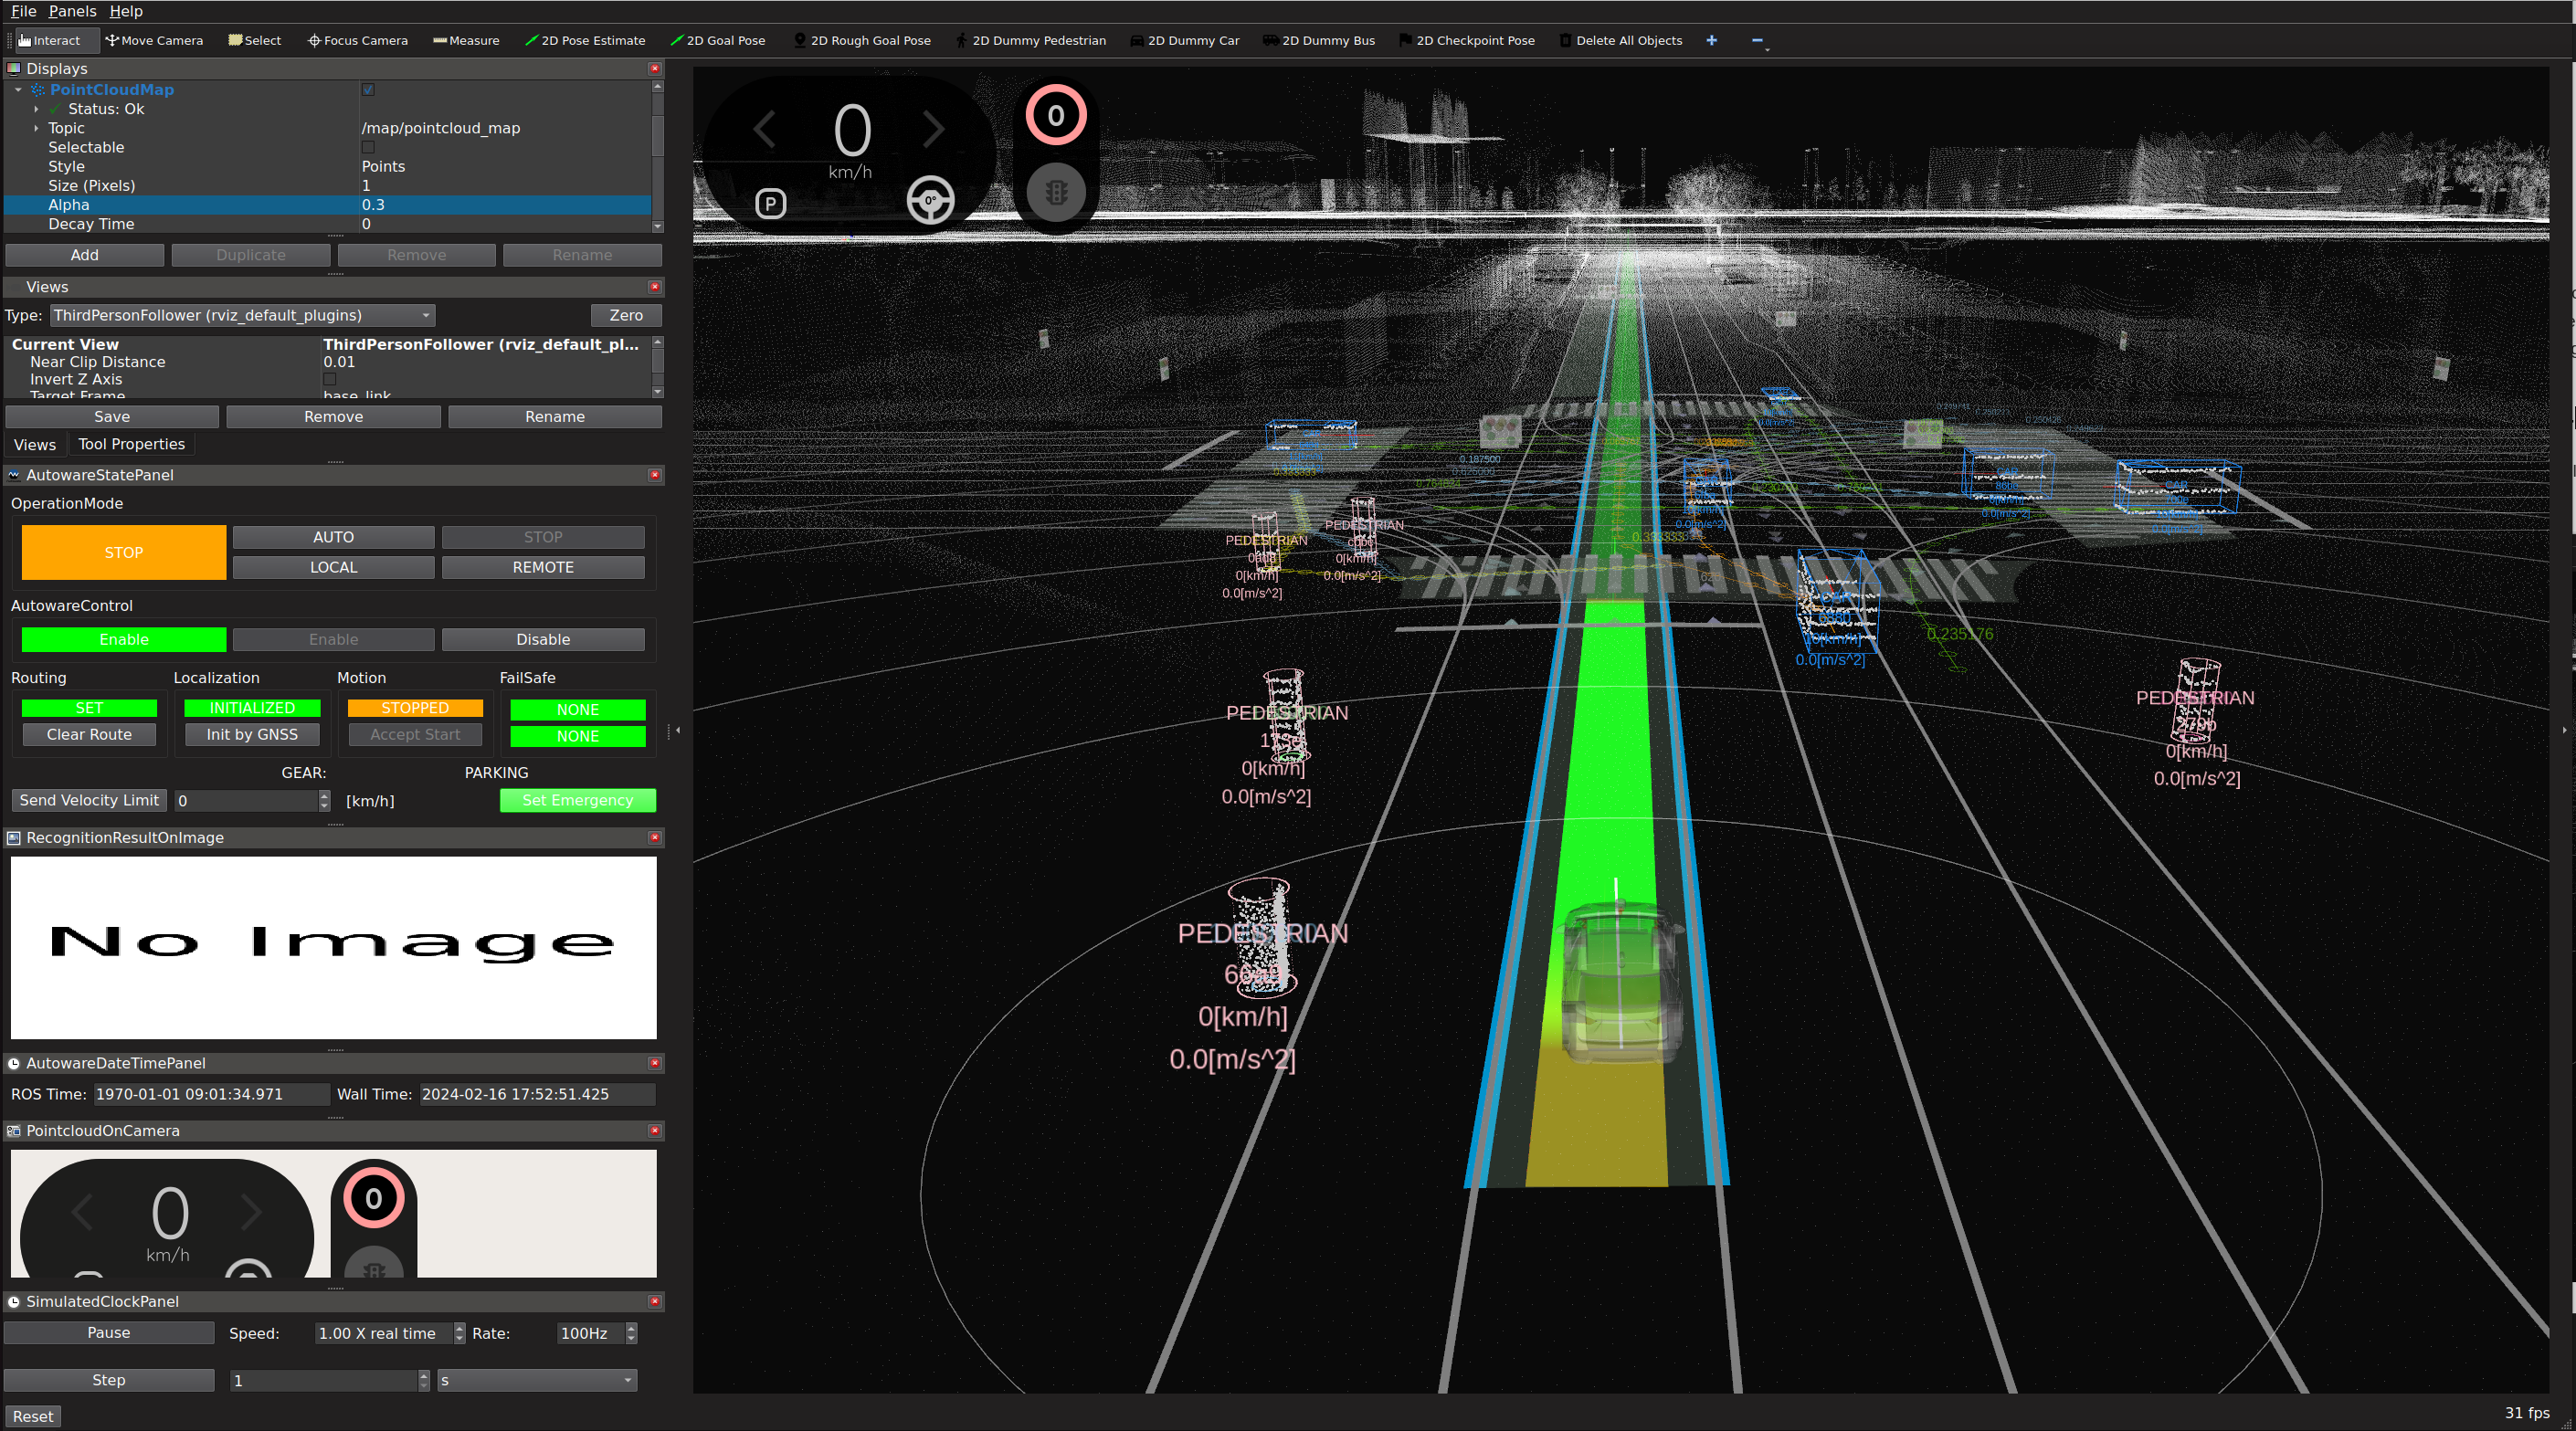
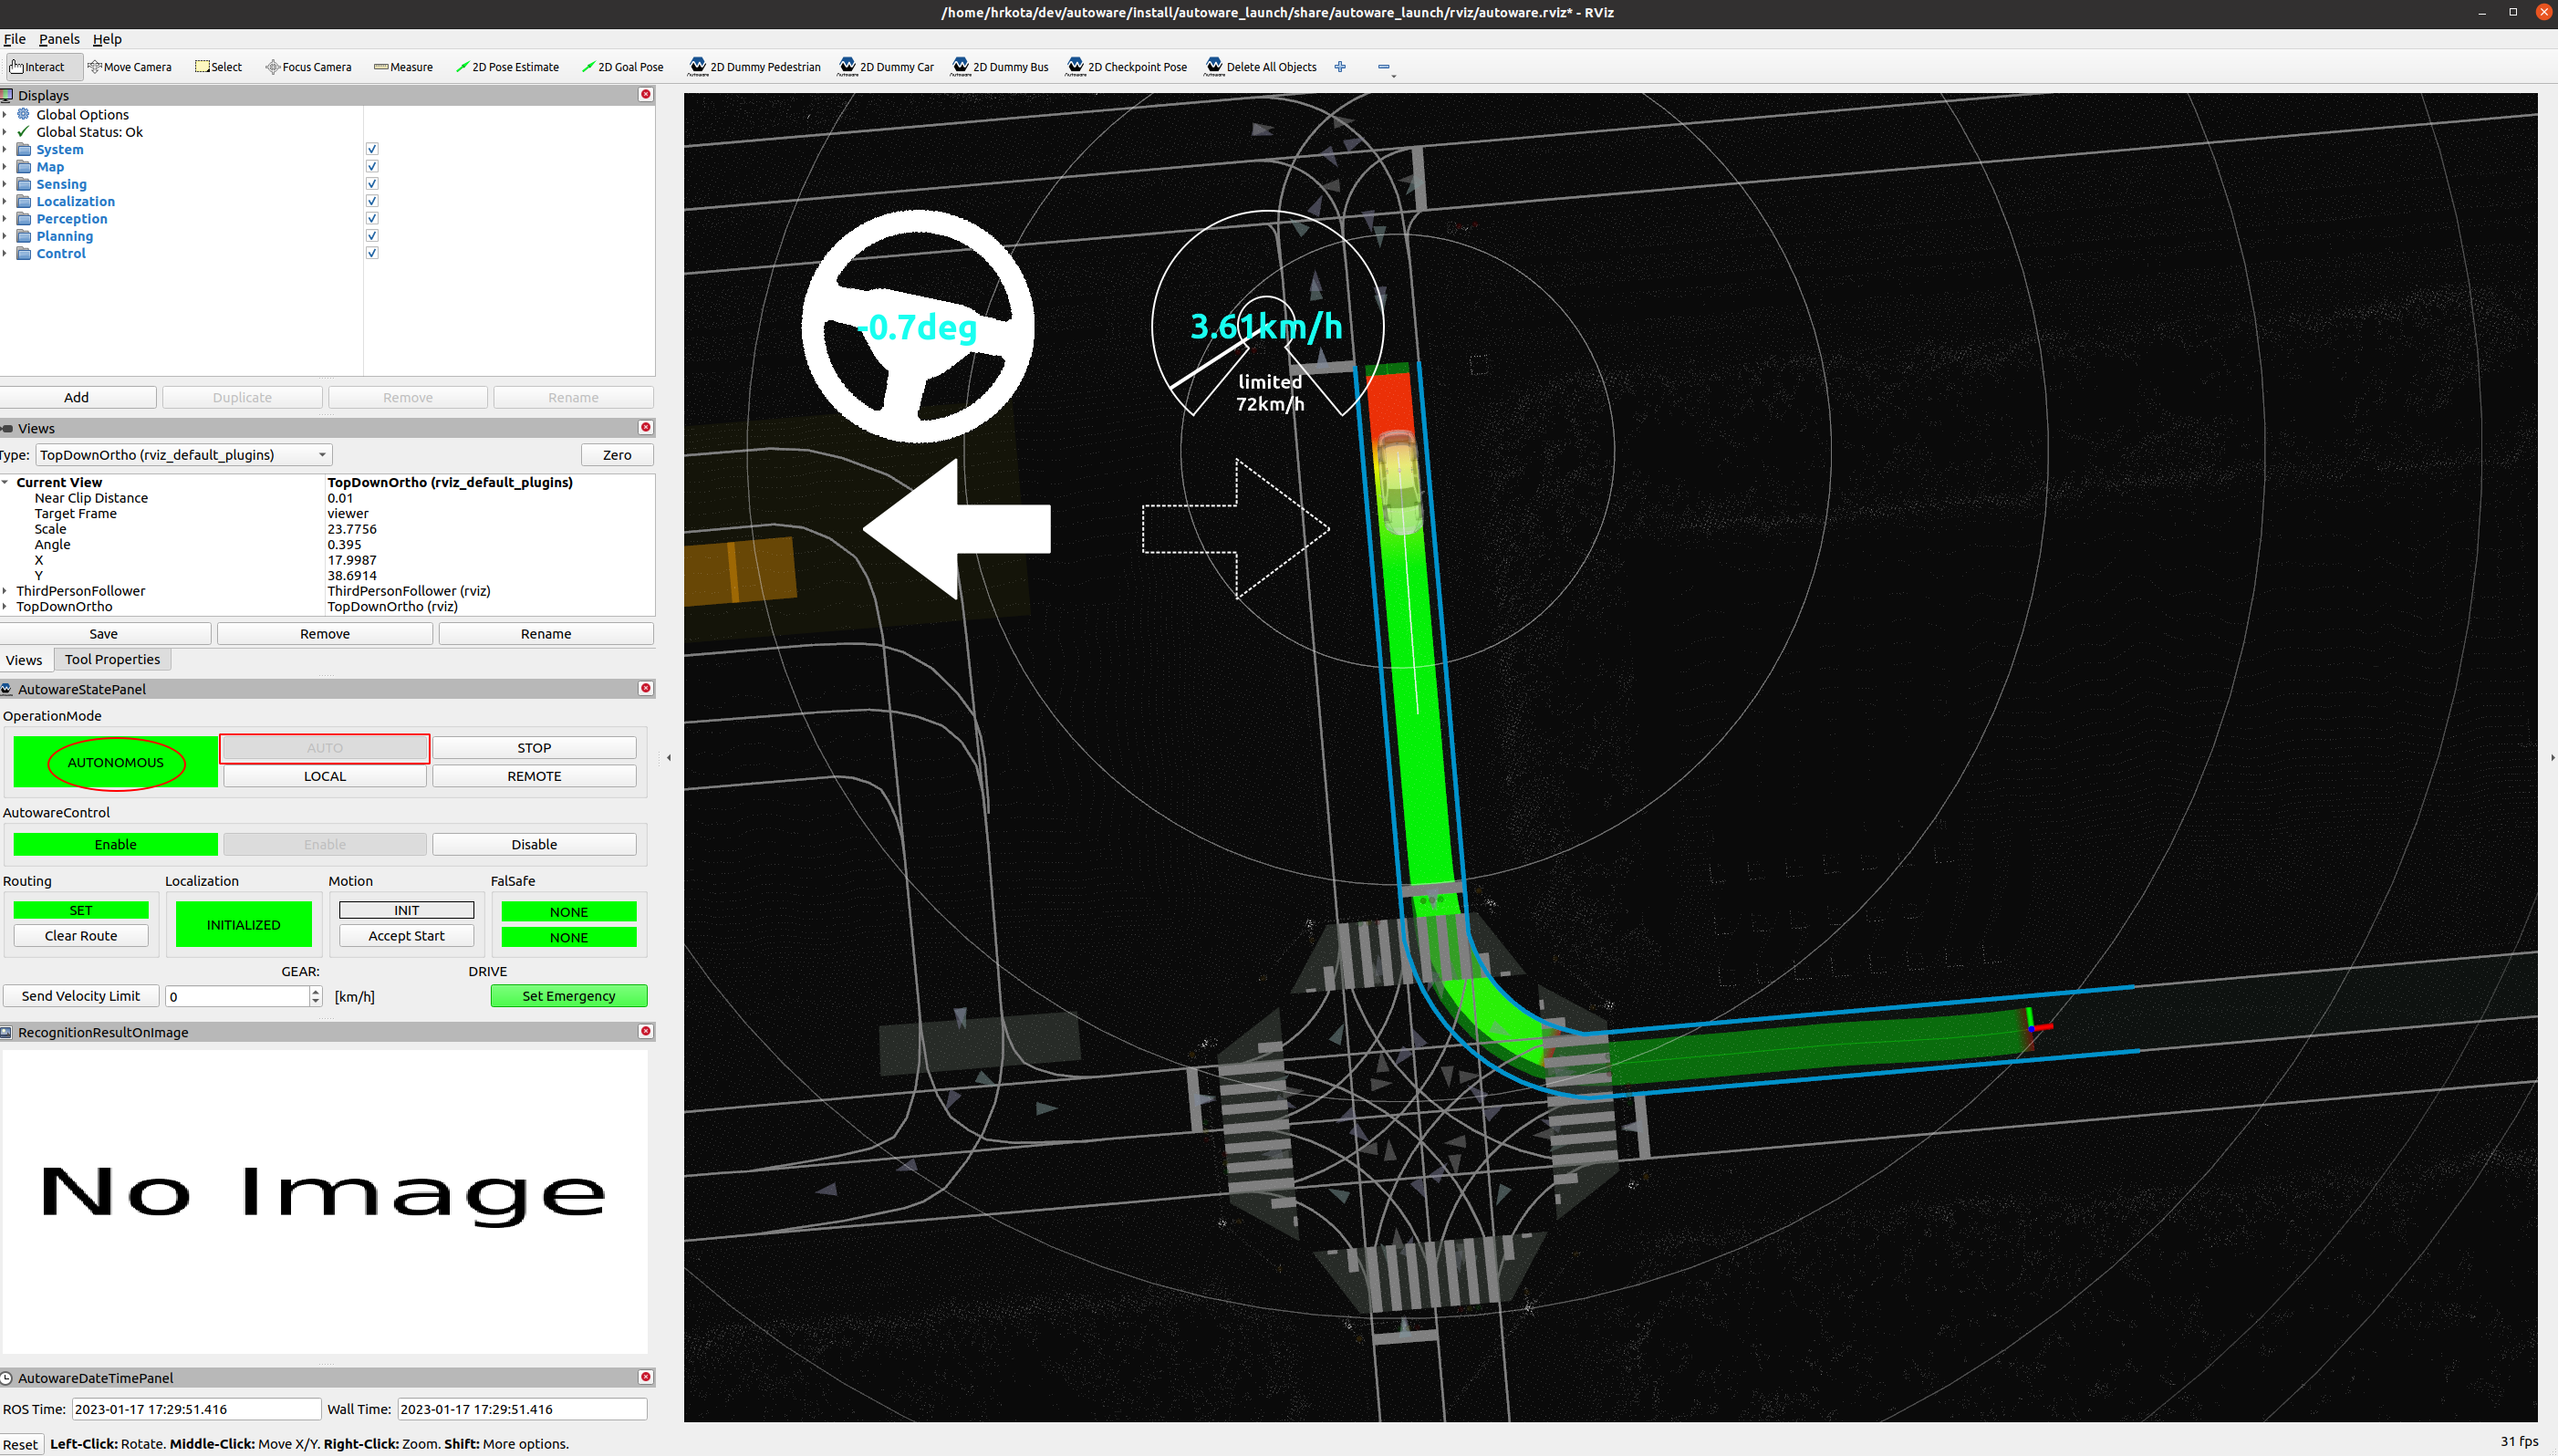
4. Start the ego vehicle#
Now you can start the ego vehicle driving by clicking the AUTO button on OperationMode in AutowareStatePanel.
Alteratively, you can manually start the vehicle by running the following command:
source ~/autoware/install/setup.bash
ros2 service call /api/operation_mode/change_to_autonomous autoware_adapi_v1_msgs/srv/ChangeOperationMode {}
After that, you can see AUTONOMOUS sign on OperationMode and AUTO button is grayed out.
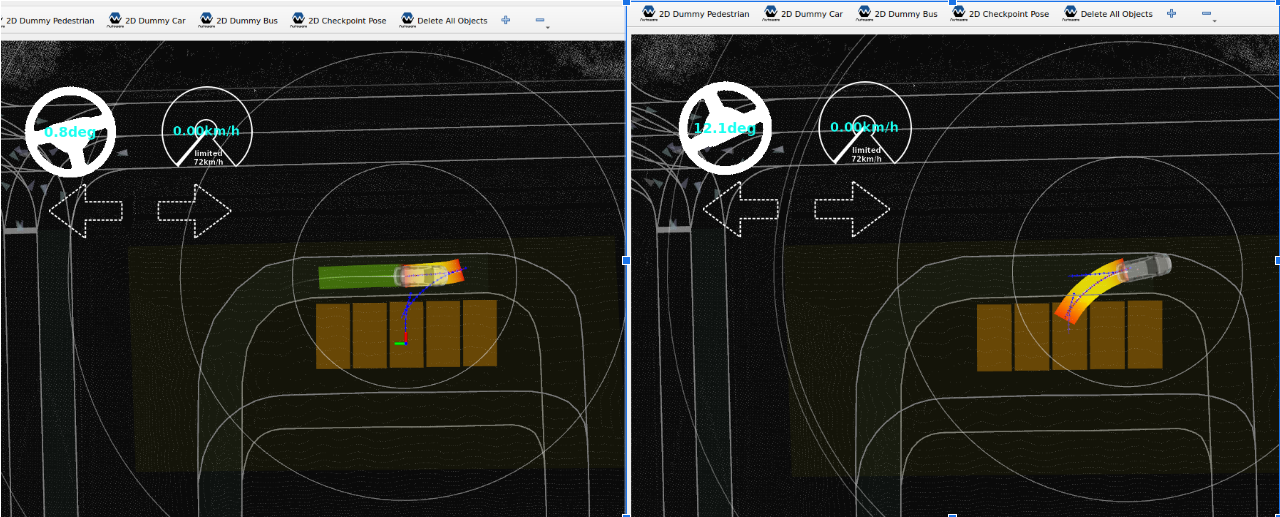
Parking scenario#
-
Set an initial pose and a goal pose, and engage the ego vehicle.
-
When the vehicle approaches the goal, it will switch from lane driving mode to parking mode.
-
After that, the vehicle will reverse into the destination parking spot.
Pull out and pull over scenario#
-
In a pull out scenario, set the ego vehicle at the road shoulder.
-
Set a goal and then engage the ego vehicle.
-
In a pull over scenario, similarly set the ego vehicle in a lane and set a goal on the road shoulder.
Lane change scenario#
-
Download and unpack Nishishinjuku map.
gdown -O ~/autoware_map/ 'https://github.com/tier4/AWSIM/releases/download/v1.1.0/nishishinjuku_autoware_map.zip' unzip -d ~/autoware_map ~/autoware_map/nishishinjuku_autoware_map.zip -
Launch autoware with Nishishinjuku map with following command:
source ~/autoware/install/setup.bash
ros2 launch autoware_launch planning_simulator.launch.xml map_path:=$HOME/autoware_map/nishishinjuku_autoware_map vehicle_model:=sample_vehicle sensor_model:=sample_sensor_kit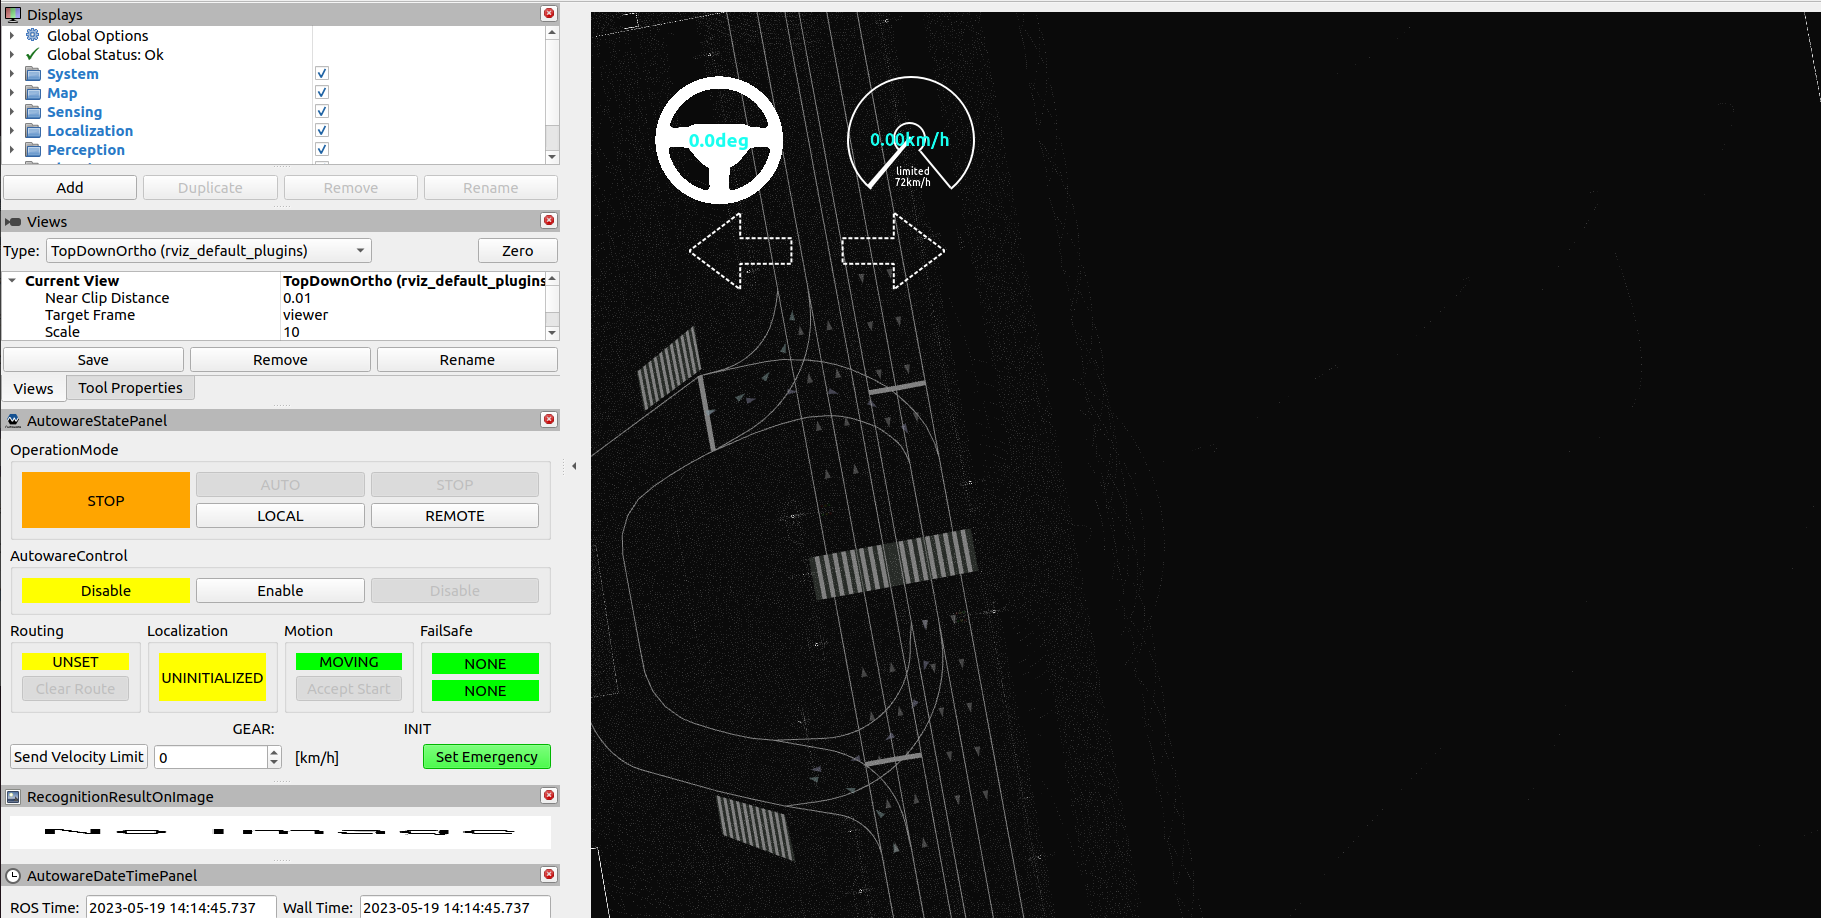
-
Set an initial pose and a goal pose in adjacent lanes.
-
Engage the ego vehicle. It will make a lane change along the planned path.
Avoidance scenario#
-
Set an initial pose and a goal pose in the same lane. A path will be planned.
-
Set a "2D Dummy Bus" on the roadside. A new path will be planned.
-
Engage the ego vehicle. It will avoid the obstacle along the newly planned path.
Advanced Simulations#
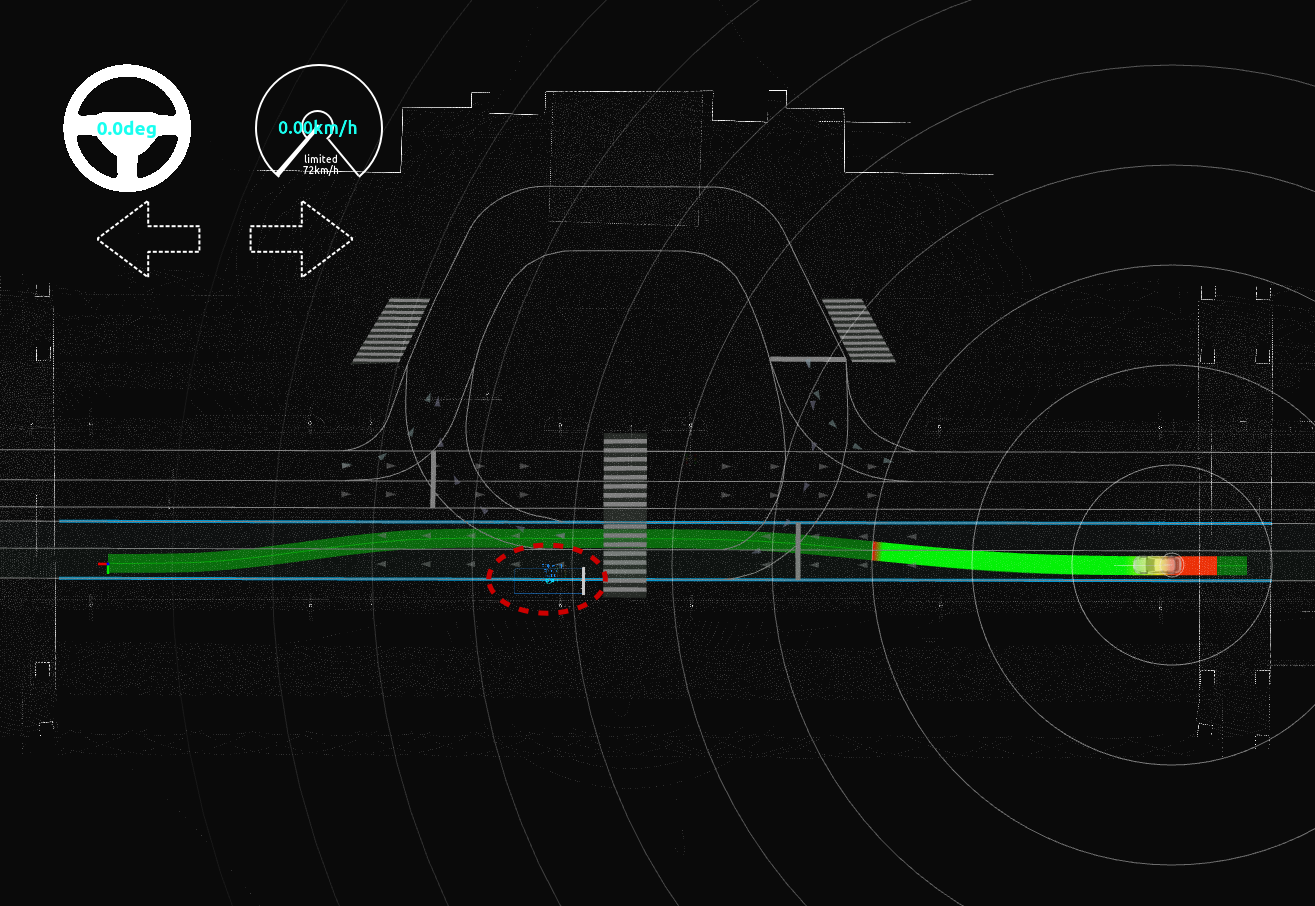
Placing dummy objects#
- Click the
2D Dummy Caror2D Dummy Pedestrianbutton in the toolbar. - Set the pose of the dummy object by clicking and dragging on the map.
-
Set the velocity of the object in
Tool Properties -> 2D Dummy Car/Pedestrianpanel.!!! note
Changes to the
velocityparameter will only affect objects placed after the parameter is changed.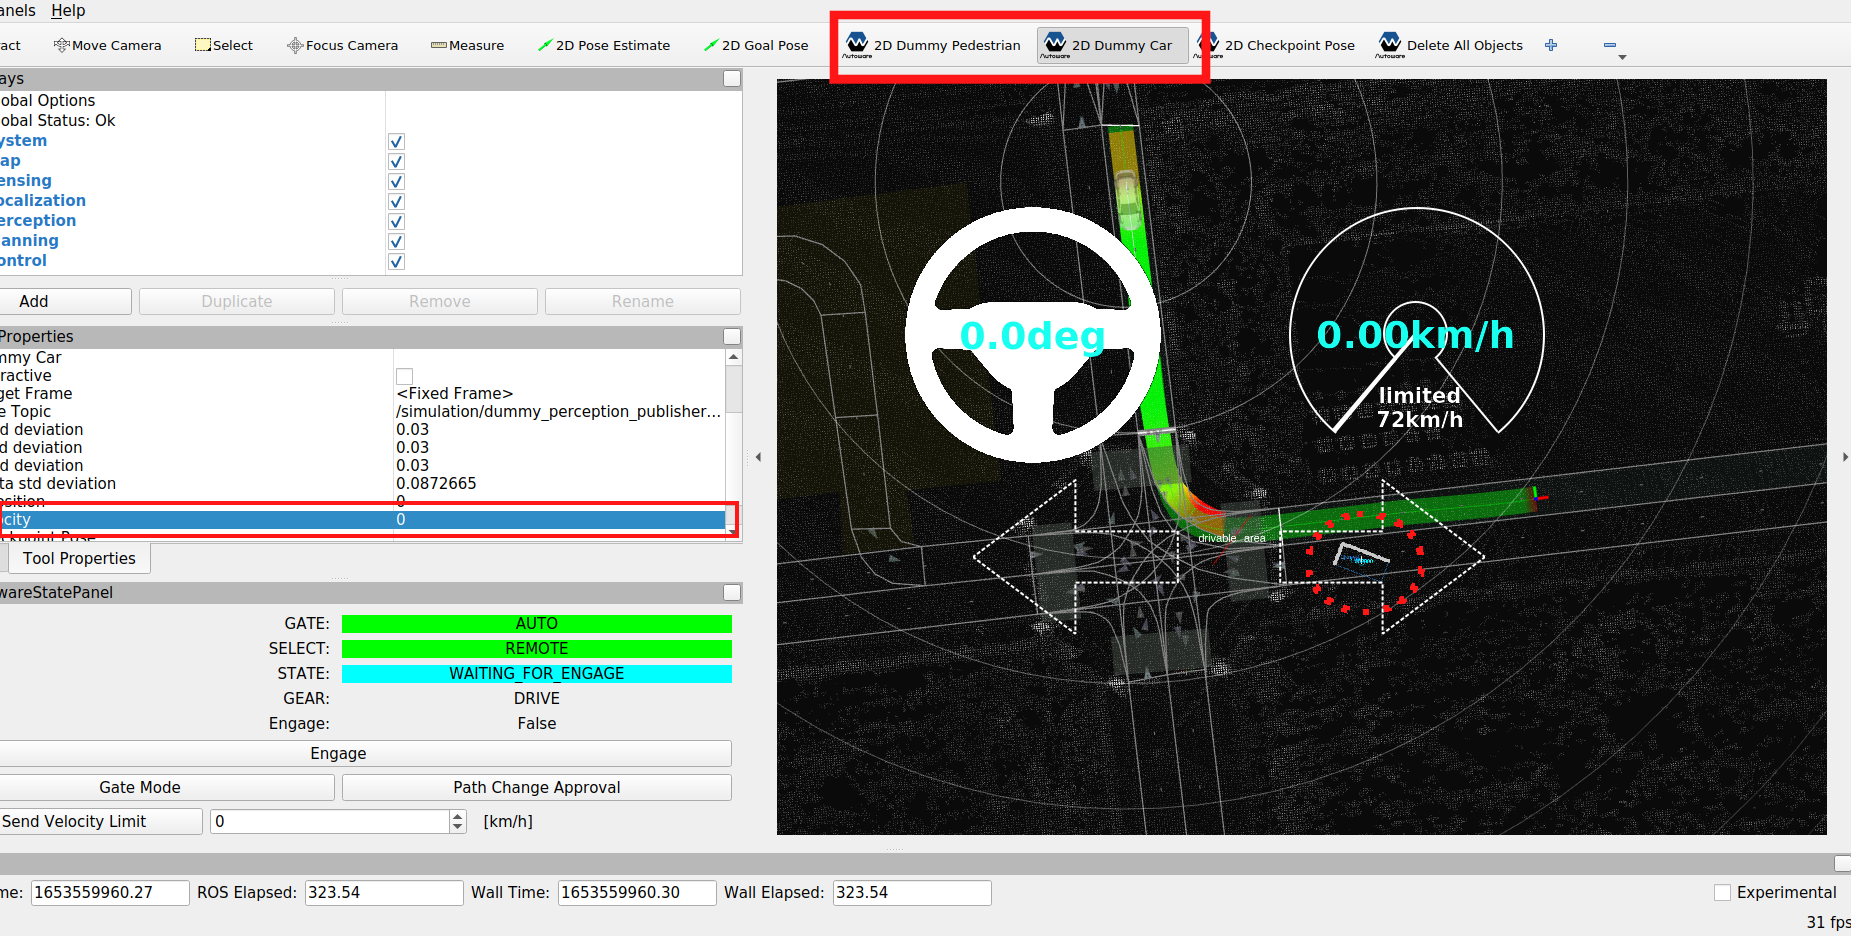
-
Delete any dummy objects placed in the view by clicking the
Delete All Objectsbutton in the toolbar. -
Click the
Interactivebutton in the toolbar to make the dummy object interactive.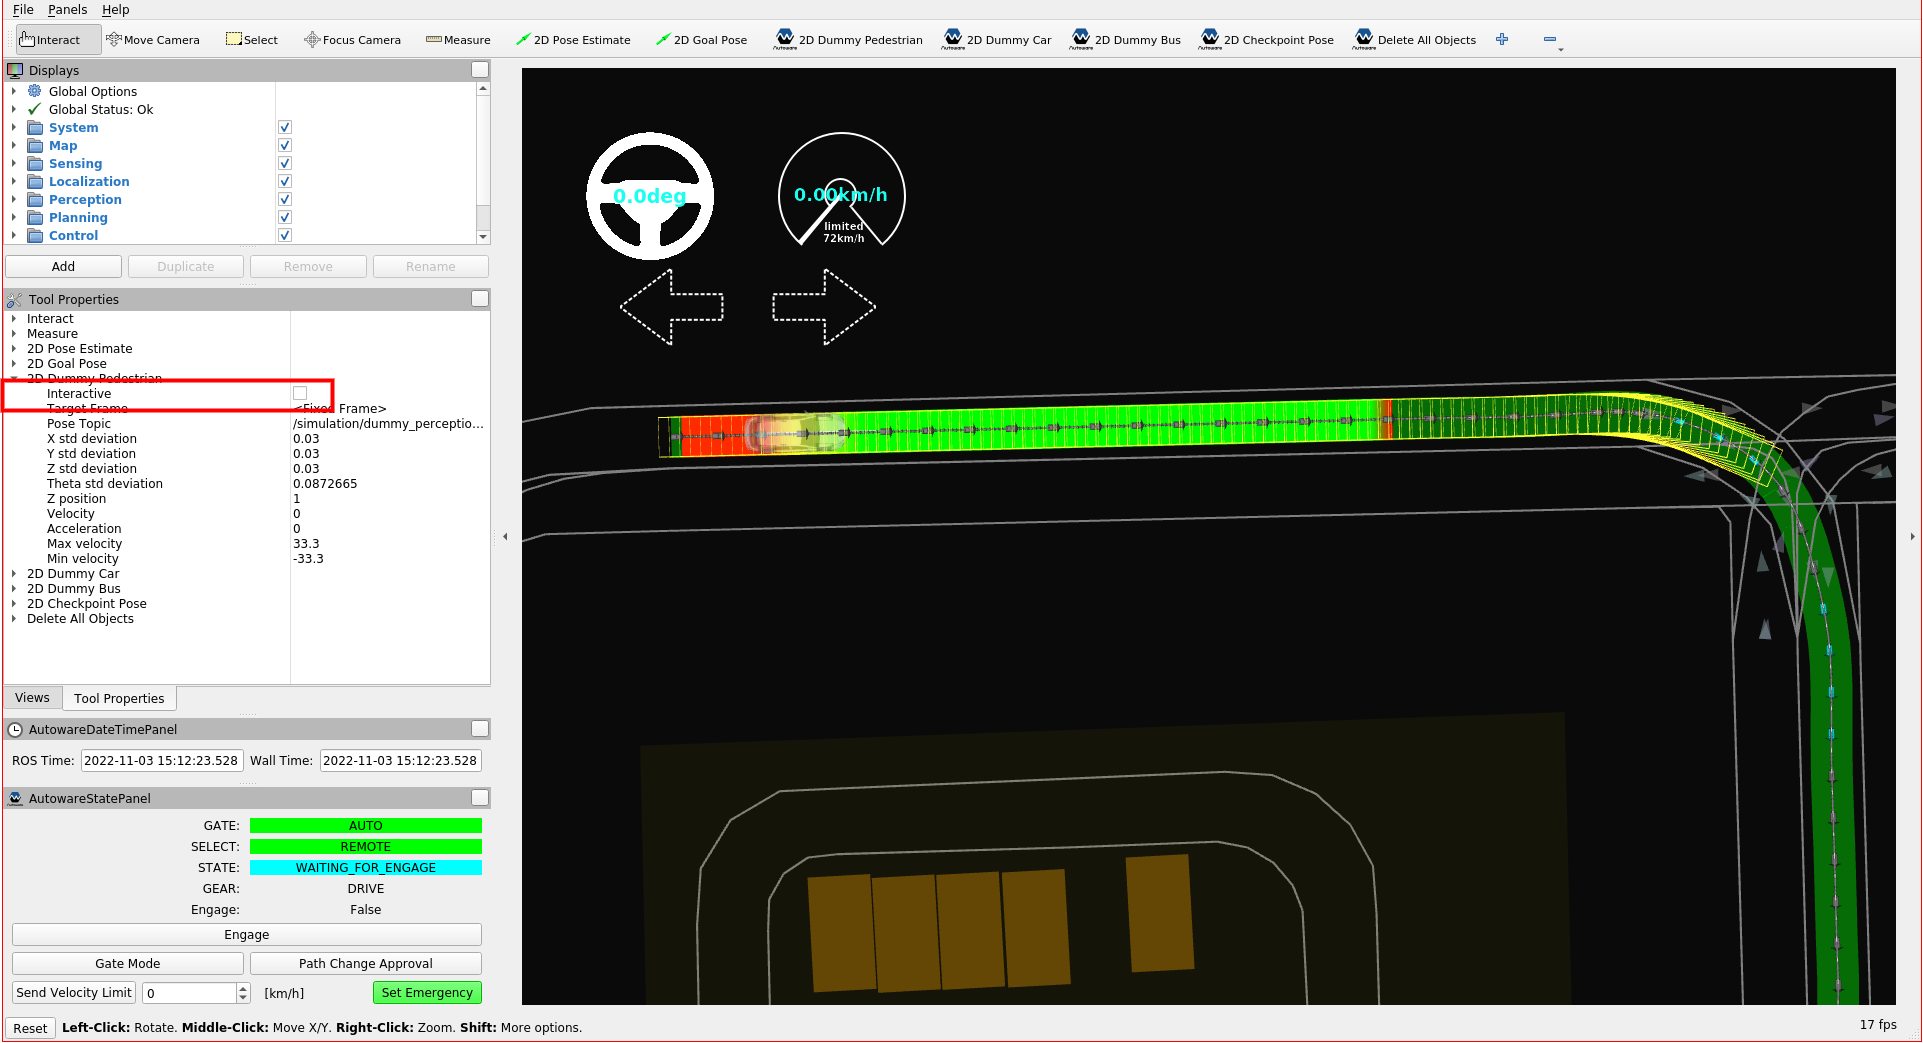
-
For adding an interactive dummy object, press
SHIFTand click theright click. - For deleting an interactive dummy object, press
ALTand click theright click. -
For moving an interactive dummy object, hold the
right clickdrag and drop the object.
Traffic light recognition simulation#
By default, traffic lights on the map are all treated as if they are set to green. As a result, when a path is created that passed through an intersection with a traffic light, the ego vehicle will drive through the intersection without stopping.
The following steps explain how to set and reset traffic lights in order to test how the Planning component will respond.
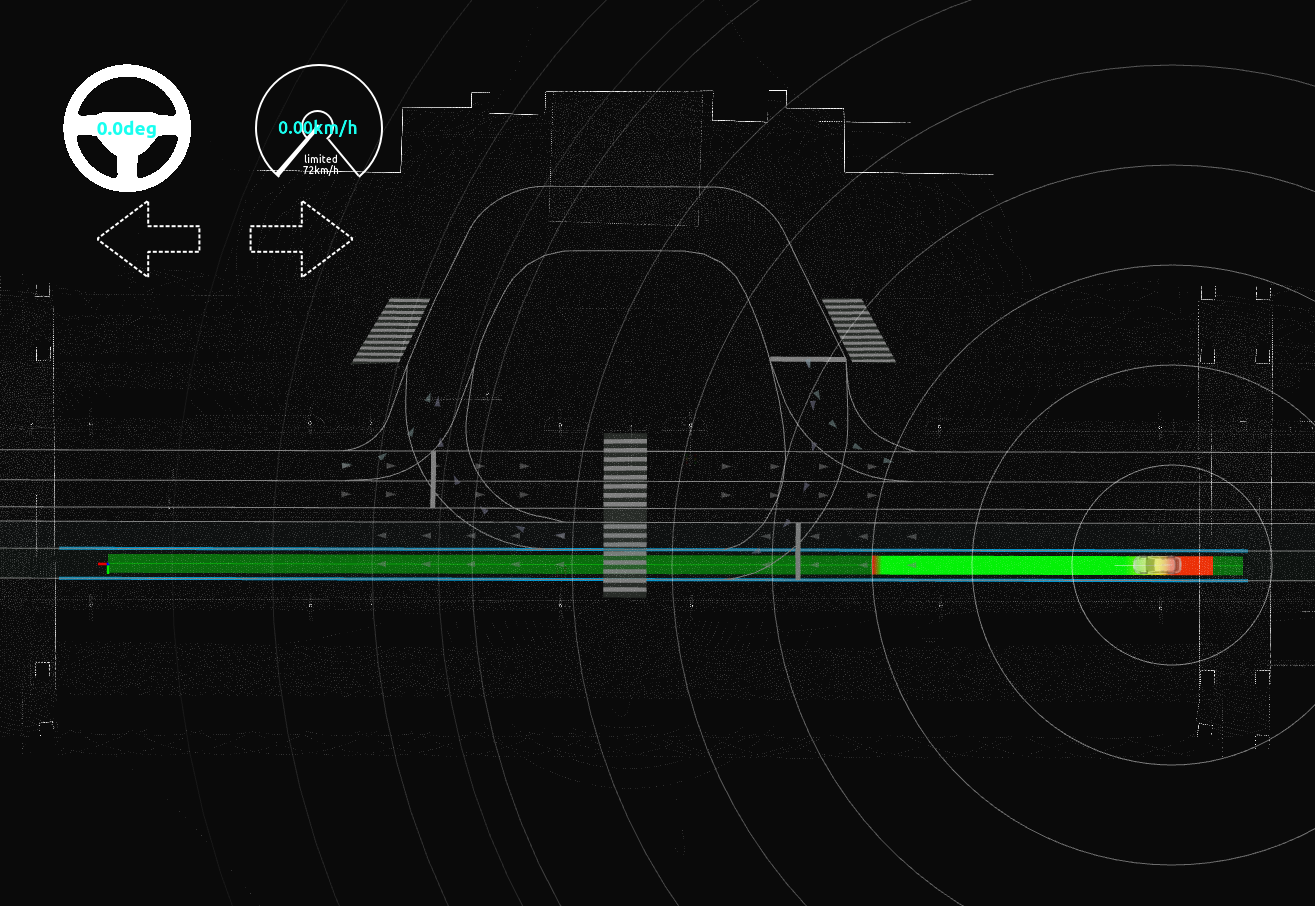
Set traffic light#
-
Go to
Panels -> Add new panel, selectTrafficLightPublishPanel, and then pressOK. -
In
TrafficLightPublishPanel, set theIDand color of the traffic light. -
Click the
SETbutton.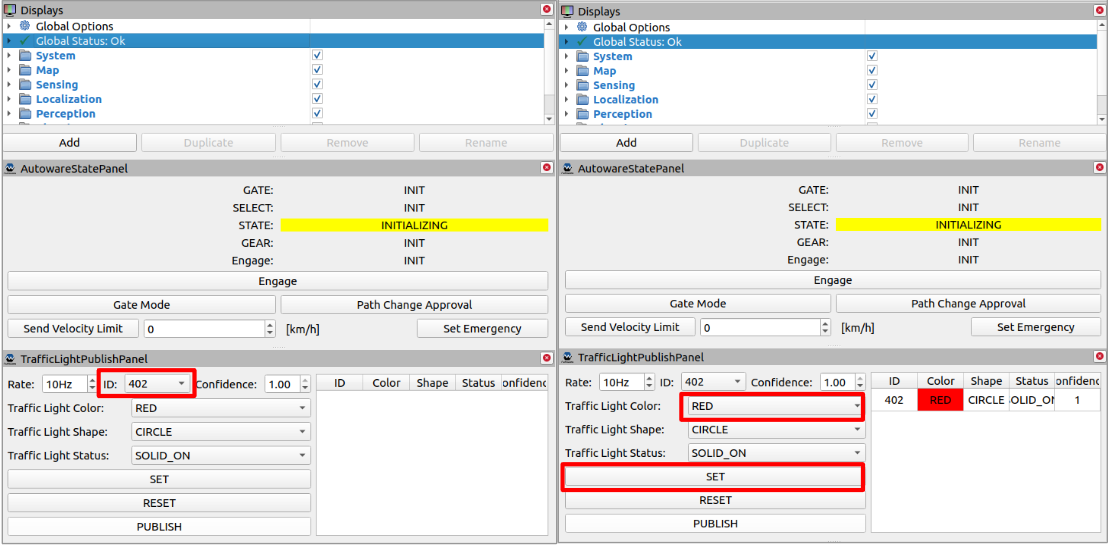
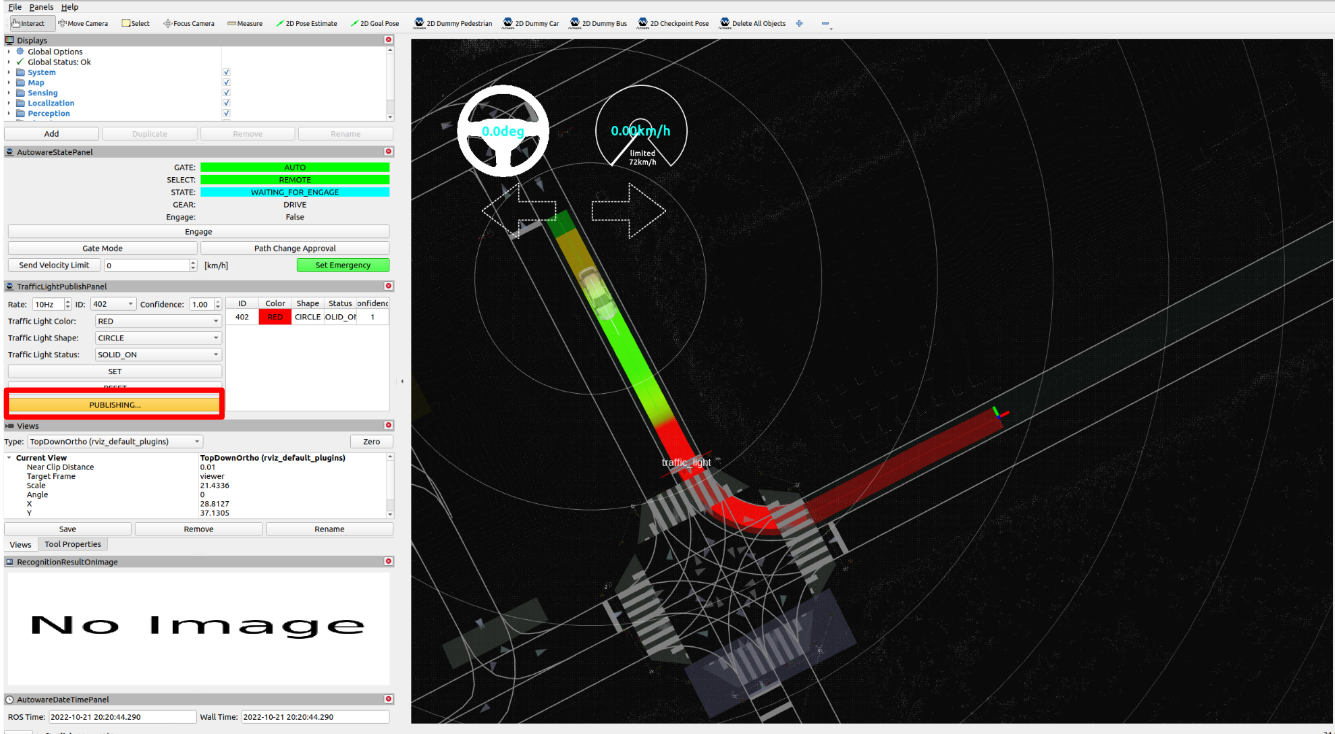
-
Finally, click the
PUBLISHbutton to send the traffic light status to the simulator. Any planned path that goes past the selected traffic light will then change accordingly.
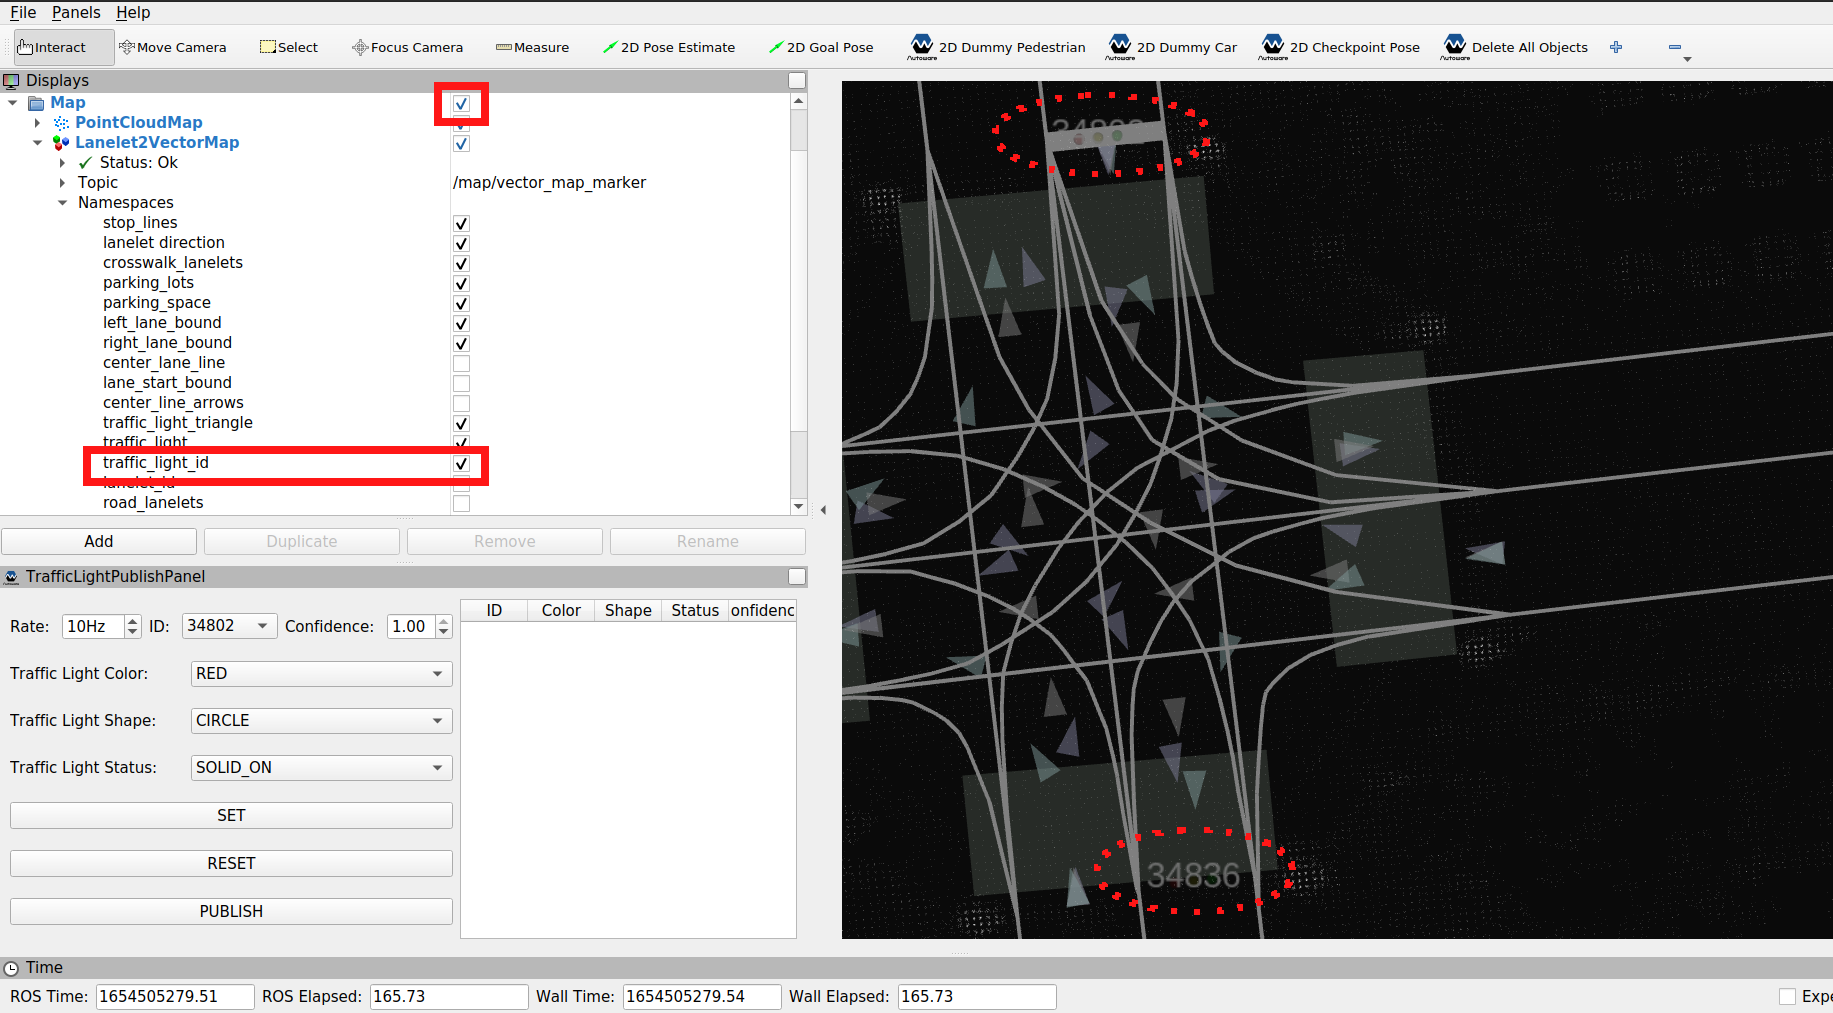
By default, Rviz should display the ID of each traffic light on the map. You can have a closer look at the IDs by zooming in the region or by changing the View type.
In case the IDs are not displayed, try the following troubleshooting steps:
a) In the Displays panel, find the traffic_light_id topic by toggling the triangle icons next to Map > Lanelet2VectorMap > Namespaces.
b) Check the traffic_light_id checkbox.
c) Reload the topic by clicking the Map checkbox twice.
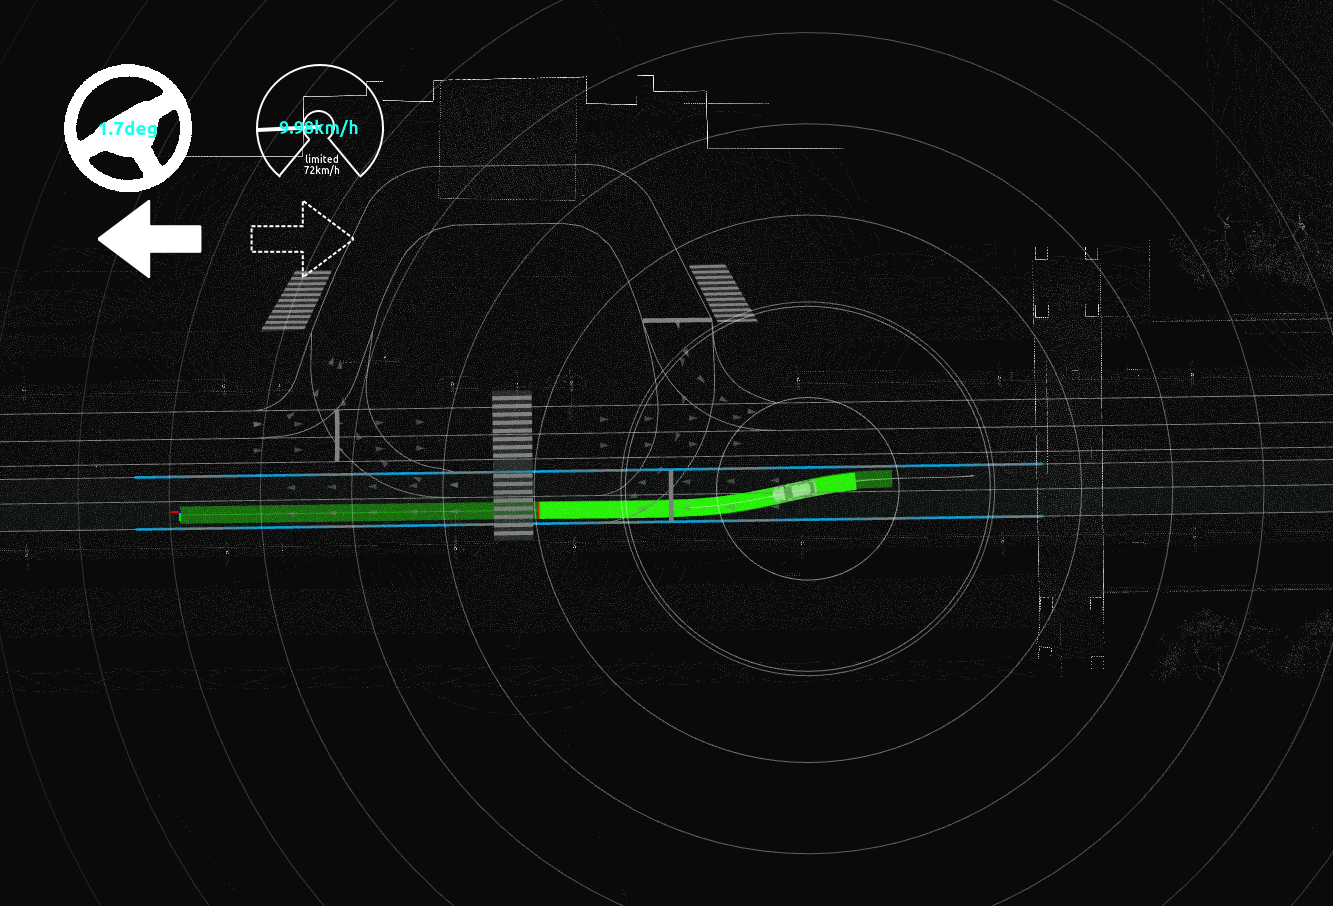
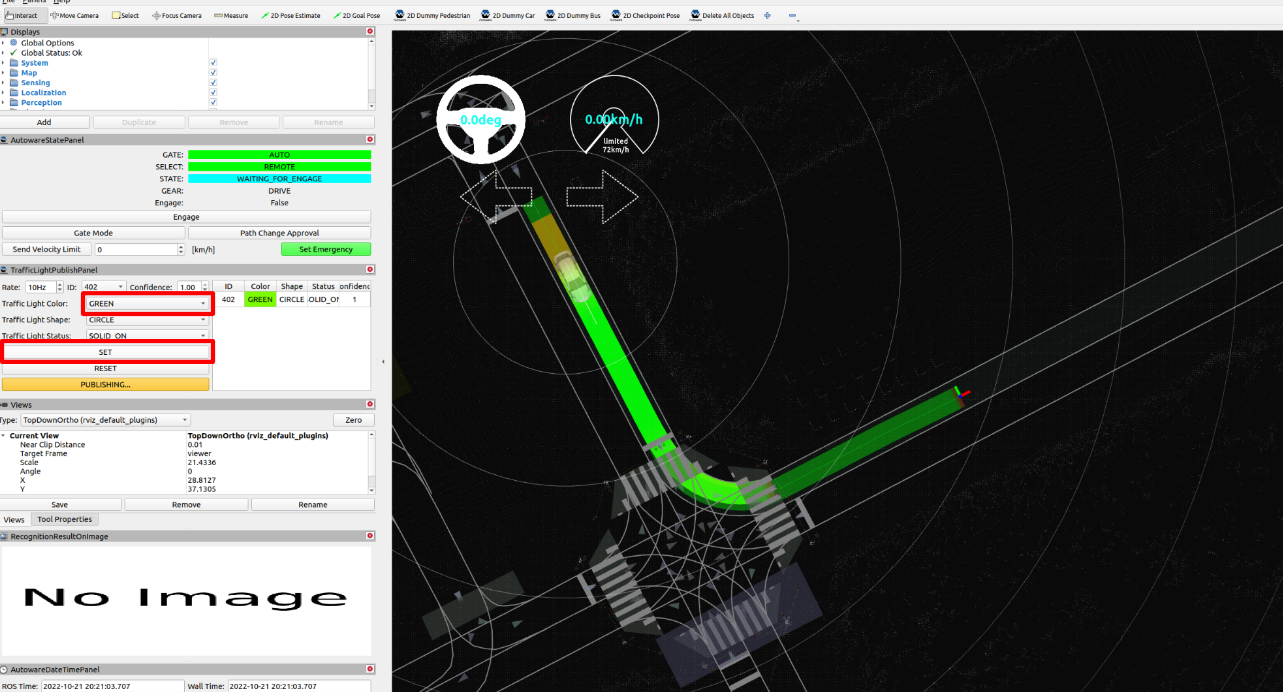
Update/Reset traffic light#
You can update the color of the traffic light by selecting the next color (in the image it is GREEN) and clicking SET button. In the image the traffic light in front of the ego vehicle changed from RED to GREEN and the vehicle restarted.
To remove a traffic light from TrafficLightPublishPanel, click the RESET button.
Using Autoware Launch GUI#
This section provides a step-by-step guide on using the Autoware Launch GUI for planning simulations, offering an alternative to the command-line instructions provided in the Basic simulations section.
Getting Started with Autoware Launch GUI#
-
Installation: Ensure you have installed the Autoware Launch GUI. Installation instructions.
-
Launching the GUI: Open the Autoware Launch GUI from your applications menu.
Launching a Planning Simulation#
Lane Driving Scenario#
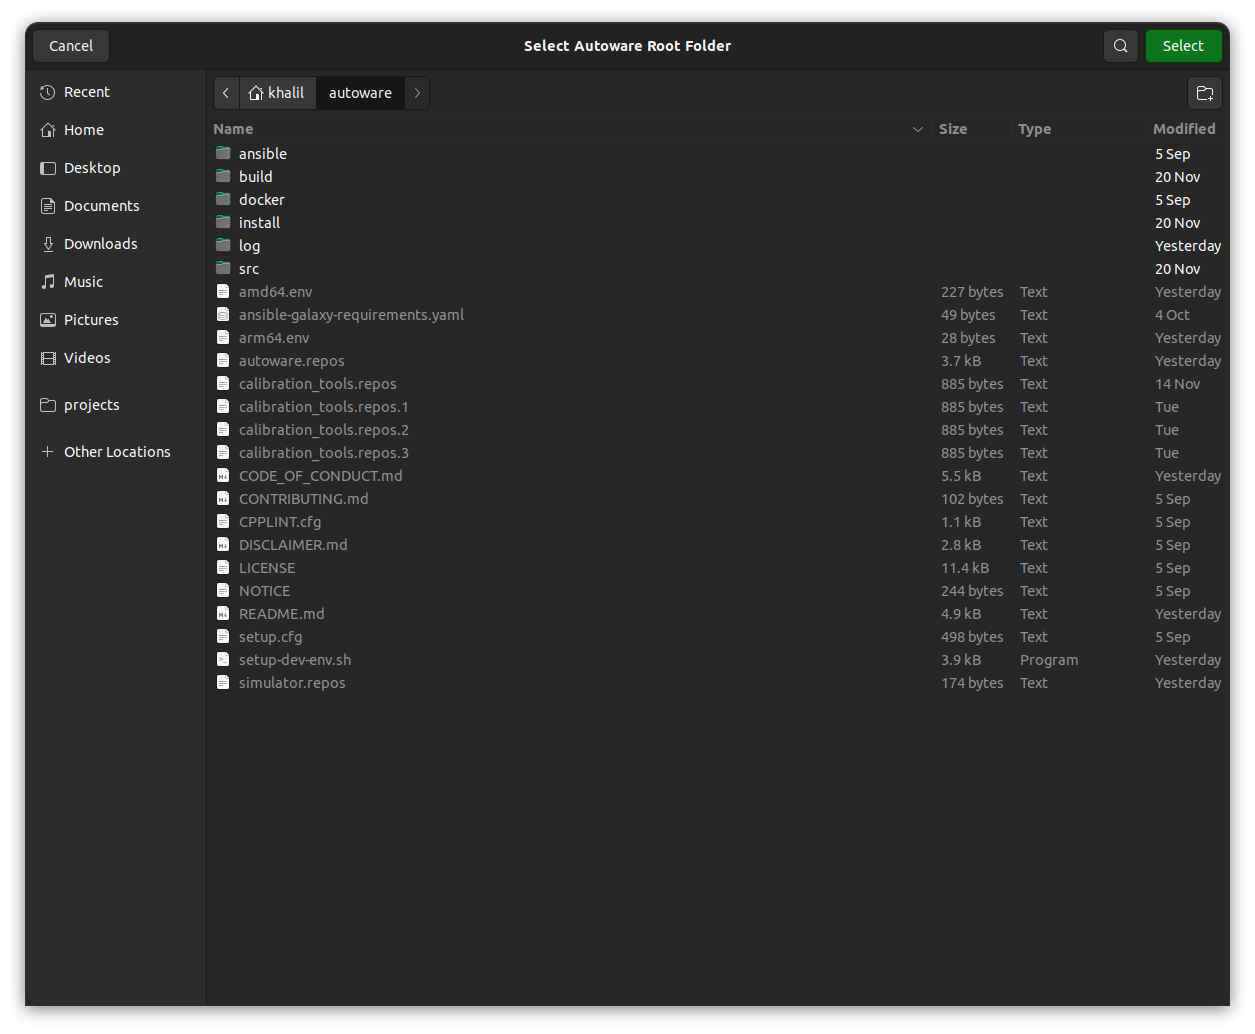
-
Set Autoware Path: In the GUI, set the path to your Autoware installation.
-
Select Launch File: Choose
planning_simulator.launch.xmlfor the lane driving scenario.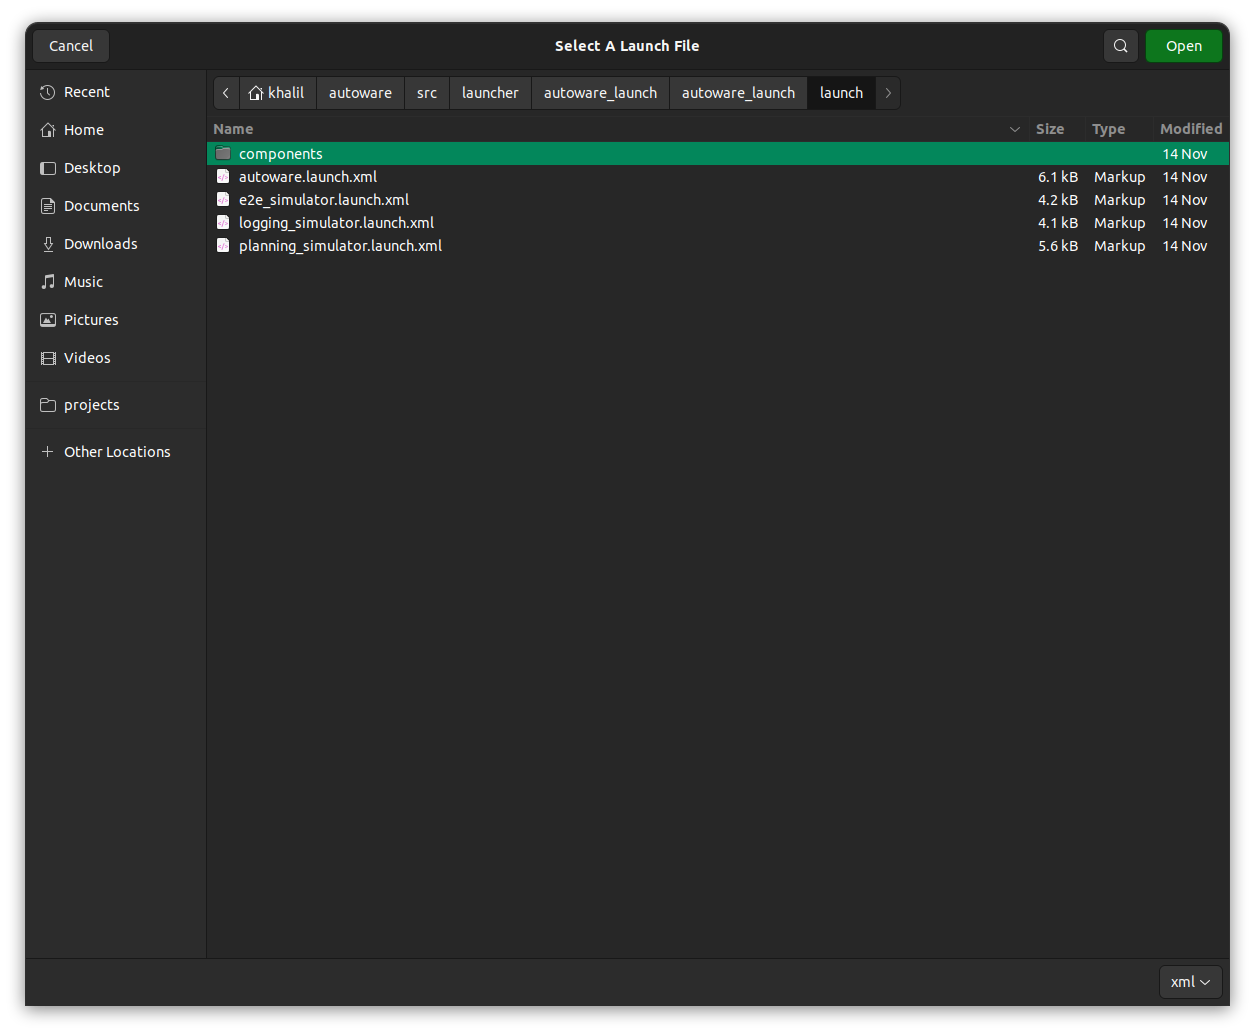
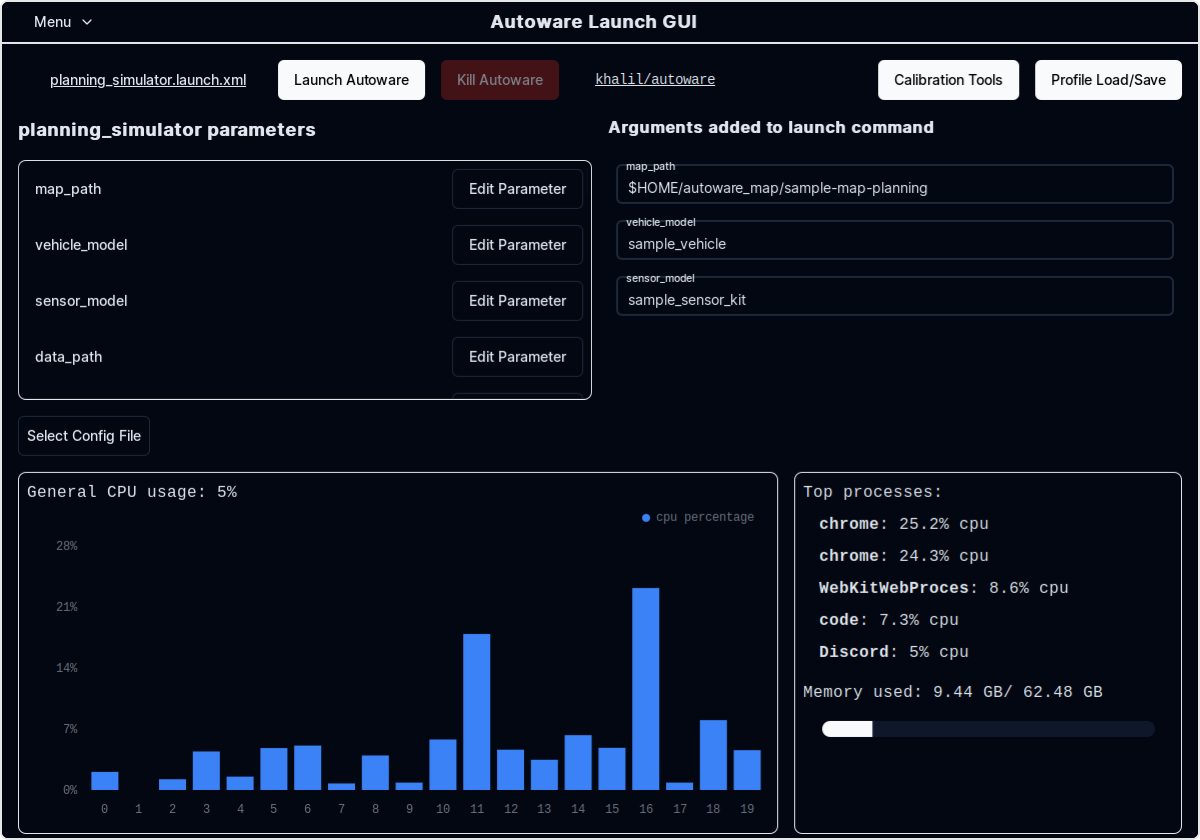
-
Customize Parameters: Adjust parameters such as
map_path,vehicle_model, andsensor_modelas needed.
-
Start Simulation: Click the launch button to start the simulation.
-
Any Scenario: From here, you can follow the instructions in the
- Lane driving scenario: Lane Driving Scenario
- Parking scenario: Parking scenario
- Lane change scenario: Lane change scenario
- Avoidance scenario: Avoidance scenario
- Advanced Simulations: Advanced Simulations
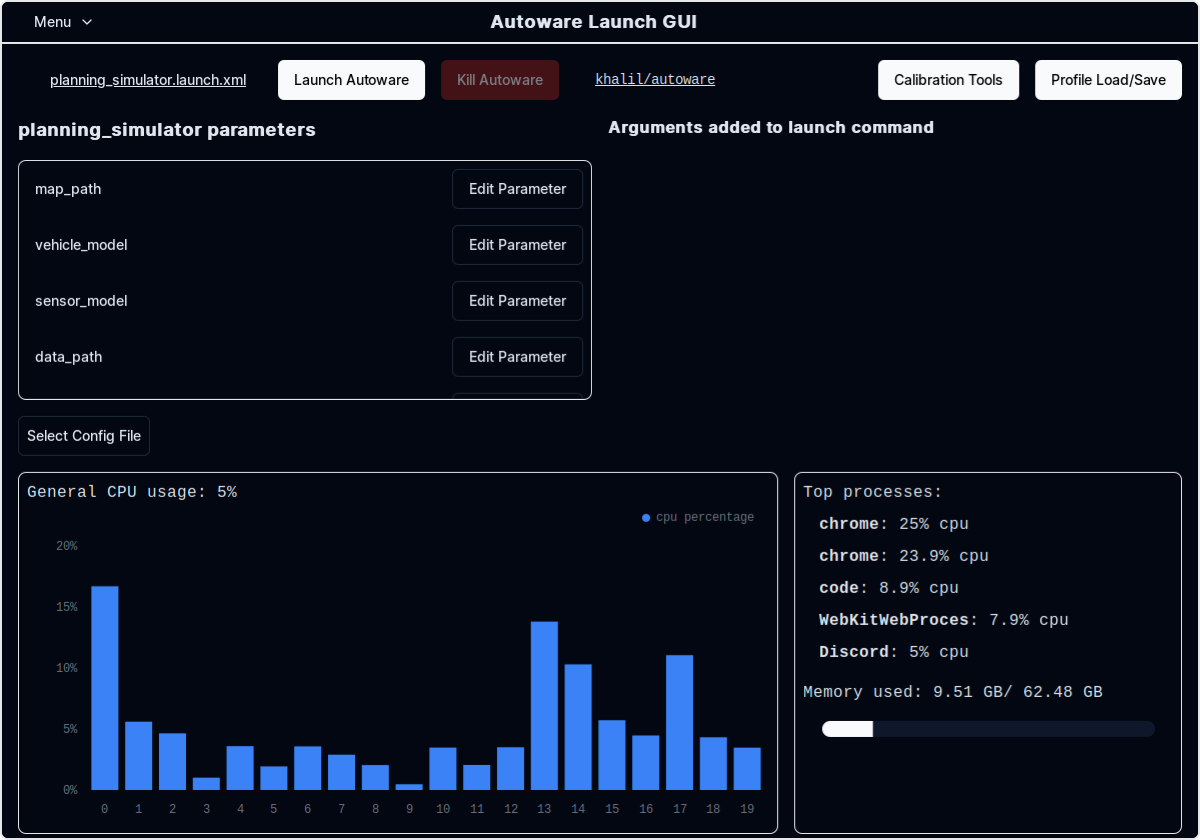
Monitoring and Managing the Simulation#
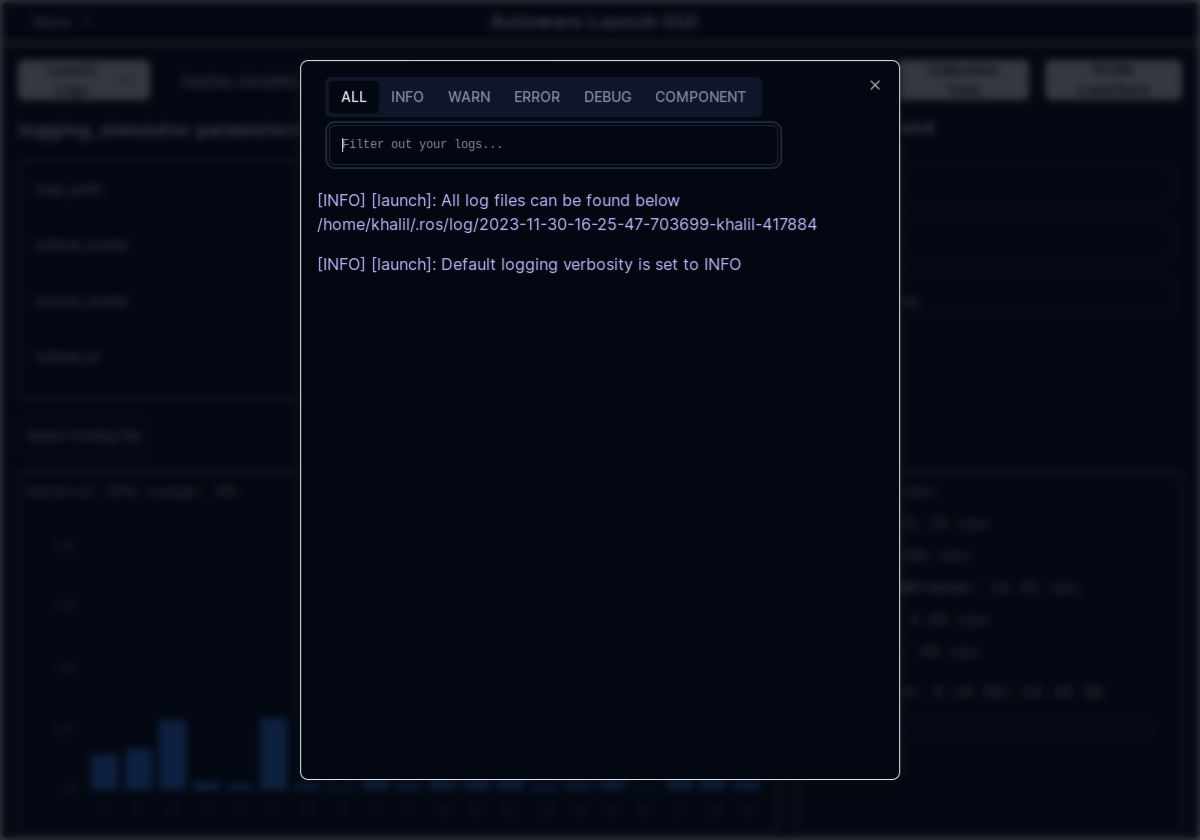
- Real-Time Monitoring: Use the GUI to monitor CPU/Memory usage and Autoware logs in real-time.
- Profile Management: Save your simulation profiles for quick access in future simulations.
- Adjusting Parameters: Easily modify simulation parameters on-the-fly through the GUI.
Want to Try Autoware with Your Custom Map?#
The above content describes the process for conducting some operations in the planning simulator using a sample map. If you are interested in running Autoware with maps of your own environment, please visit the How to Create Vector Map section for guidance.